LightBurn
LightBurn Setup for Fiber Laser — Quick Reference Guide
Get LightBurn working with your fiber laser in 15 minutes. Device profile, units, cut layers, kerf compensation, and the settings that trip up first-time users.
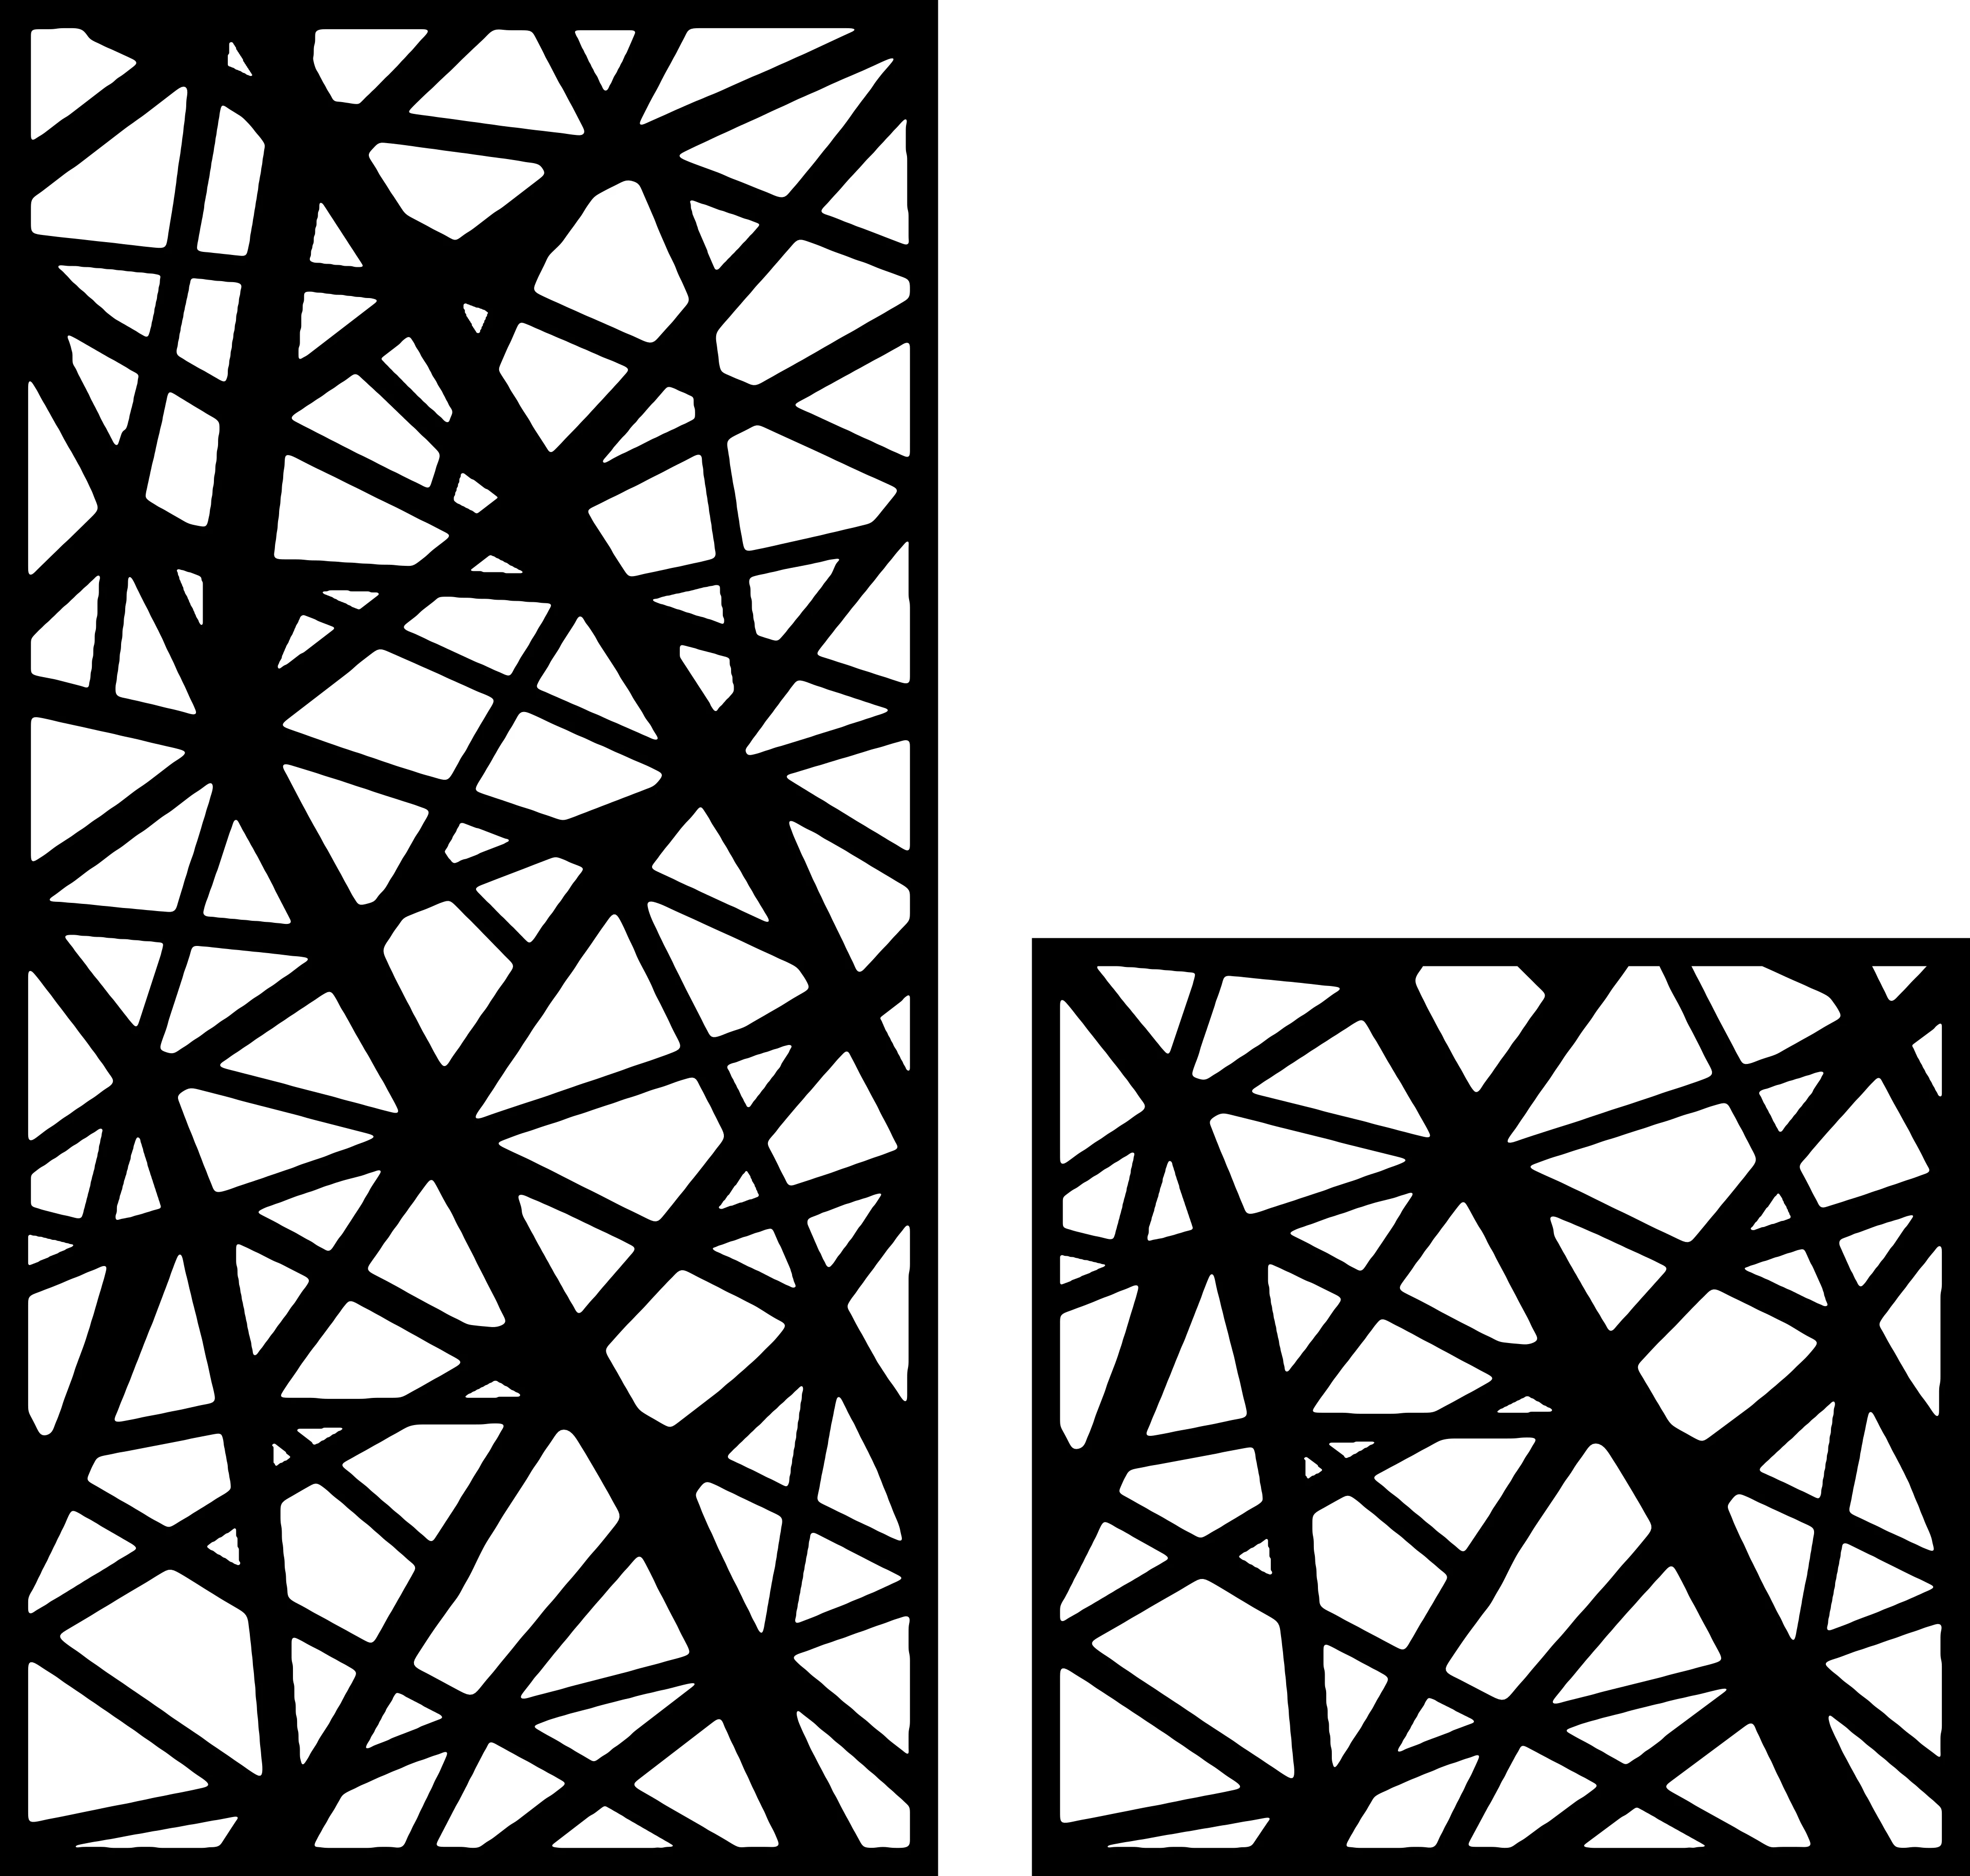
LightBurn is the most popular laser software for hobbyist and small-shop fiber lasers. It’s $80 (one-time, not subscription) and supports virtually every fiber controller — Ruida, Trocen, EZCAD-based machines via the LightBurn Galvo edition.
This guide gets you from “fresh install” to “first clean cut” in 15 minutes.
Step 1 — Install + license
- Download from lightburnsoftware.com
- Install — pick “Galvo Fiber Laser” edition for EZCAD-based fiber lasers (most common 1-2 kW desktop models). For CO2-style fiber controllers (Ruida), pick the regular LightBurn edition.
- Launch — it asks for license. Free 30-day trial first, then $80 for permanent.
Step 2 — Add your fiber laser as a device
LightBurn supports two main types:
EZCAD-style fiber (galvo head)
- File → Open in finder, find your fiber laser controller via find devices
- Or manually: Settings → Add Device → choose your controller make
- Set workspace size to match your machine’s lens field (110 mm × 110 mm typical for an F254 lens, larger for F330 or F420)
Ruida-style fiber (gantry head)
- Same process. Workspace size matches your bed (typical: 1300 × 900 mm)
If your machine isn’t auto-detected, check USB connection. Some machines need driver install — usually CH340 or FTDI for serial converter.
Step 3 — Set workspace units
Critical: Settings → Display & Units → Workspace Units = mm.
All DXFForge files are authored in mm. If you’re working in inches by accident, every file will be 25.4x too big or 25.4x too small.
Step 4 — Import your first DXF file
- File → Import → select your
.dxf - LightBurn asks “Use file units” vs “Use workspace units” — pick Use file units
- Design appears at natural size (most DXFForge designs natural at 600 mm height)
Step 5 — Set up cut layers
LightBurn uses “layers” (different colors) for different operations.
For our designs, you only need one layer: the cut.
- Select the entire imported design
- Click a color in the bottom-left palette (red is conventional for “cut” in many shops)
- Open Layer settings (double-click the color in Cuts/Layers panel right side)
- Set:
- Mode: Line (NOT fill, NOT image)
- Power: per your material thickness (refer to our stainless steel guide or aluminum guide)
- Speed: per material
- Number of passes: 1 (single pass is fine for ≤2 mm with good fiber)
- Frequency: 20-50 kHz (fiber-specific — most fibers run optimally at 30 kHz)
Step 6 — Kerf compensation (optional but recommended)
Inside the same layer settings:
- Cut through tab → Kerf offset: 0.05 mm outward
- This shifts the cut line outward by half the kerf width, so the resulting cut piece is at exactly the design’s intended dimensions.
For inner cutouts (where the inside piece is the waste), you want the cut line shifted INWARD — handled automatically if you set “Cut outside path” vs “Cut inside path” correctly.
For our designs, 0.05 mm outward is the right starting value on fiber. Adjust if your machine produces wider or narrower kerf.
Step 7 — Position and frame
- Move the design to where you want to cut on the workpiece — click and drag, or use precise X/Y in coordinates panel.
- Click Frame (bottom toolbar) — laser head outlines the cut area at low power, showing you exactly where it’ll cut. Verify it’s on the workpiece.
- Adjust position if frame is off.
Step 8 — Run the cut
- Make sure ventilation and assist gas are on
- Click Start in the Laser panel (right side)
- Watch the first 30 seconds — laser should be cutting through cleanly
- If anything looks wrong (smoke wrong color, not cutting through, machine sounds bad) → Stop immediately, investigate before restarting
Common first-time mistakes
”Nothing happens when I hit Start”
- Layer is set to “Output” disabled. Open layer settings → ensure Output is checked.
- OR laser shutter is closed. Open shutter or e-stop.
- OR no design selected. Make sure design is on the workspace, not in “outside” gray area.
”Laser cuts but file is mirrored”
- Workspace origin doesn’t match machine origin. Edit → Settings → Origin → try different corners until cut matches design.
”Cut quality is awful”
- Most likely: power/speed wrong for material. See our stainless settings guide.
- OR: focus lens dirty. Clean with lens swab + IPA.
- OR: nozzle clogged. Inspect, replace if needed.
”File imports but engraves instead of cuts”
- Layer mode is set to Fill instead of Line. Switch.
- OR: design has both fills AND strokes. Open in Inkscape, remove fills, save, re-import.
”Cuts are inconsistent across the sheet”
- Bed is not level. Run the bed-leveling routine on your machine.
- OR: sheet is warped. Use clamps or weights to flatten.
”Random extra cuts in the middle of features”
- Stray geometry in the DXF. In LightBurn: Edit → Delete Duplicates. Or open in CAD and clean up.
Save your settings as a “Material Library”
After you’ve calibrated power+speed+gas for a specific material/thickness combo, save it:
- Open the Material Library (Window → Material Library)
- Click + (Add)
- Enter: name (e.g., “Stainless 2mm — fiber”), then power, speed, gas, frequency
- Future jobs: just pick from library instead of typing every value
Pro tip: name materials with thickness suffix. “Stainless 1mm” / “Stainless 2mm” / etc. Easier to find later.
Galvo-specific (EZCAD-style) tips
For galvo fiber lasers (typical 20 W to 50 W desktop units, 110×110 mm field):
- Cuts are SLOW — galvo is optimised for engraving, not cutting. Don’t expect to cut 2 mm steel cleanly; these are 0.5-1 mm machines.
- Multiple passes work — set Number of Passes = 5-10 for thicker stock
- Air assist still helps — even at low power, an air blast clears smoke
For gantry fiber lasers (1-3 kW industrial-style, larger bed):
- Single-pass capable up to 6-8 mm steel
- Need N2 / O2 / air supply at proper pressure
- Auto-focus must be enabled
The settings in our guides assume gantry fiber unless noted.
Test cut workflow
Always do a test cut before running production:
- Import design
- Set layer power/speed to your guess
- Cut on offcut of same material/thickness
- Inspect — is the cut clean? Through? Any drag-marks?
- Adjust:
- Cut not through: +10% power OR -10% speed
- Edge dirty: -10% power, OR +gas pressure
- Striations: +power and same speed
- Re-test until clean
- Save adjusted settings to Material Library
Skipping the test cut = wasting material. 5 minutes of test = hours of clean production.
Resources
- LightBurn forums (forum.lightburnsoftware.com) — active community, fastest place to ask machine-specific questions
- YouTube — “Lightburn fiber cutting” — search this for video walkthroughs of specific machines
- DXFForge blog — we’ll keep adding cutting-technique articles. Bookmark /blog.
Bottom line
LightBurn is the easiest path from “I have a fiber laser” to “I’m producing decorative panels”. $80 one-time, supports virtually every controller, mature software with active development.
For DXFForge designs: import, set layer power/speed/gas per material, frame, run. That’s the entire workflow. The files are already laser-ready.
Browse designs → — every file is LightBurn-ready out of the box.
Designs mentioned in this article


More articles
House Signs
10 Best DXF Designs for Modern House Signs & Address Plaques
Curated list of the 10 best DXF designs for house signs and address number plaques. Modern styles, material recommendations, install tips. Ready to cut on fiber laser or plasma.
June 8, 2026
Wall Clocks
10 Best DXF Designs for Metal Wall Clocks (Laser & Plasma Cut)
Discover the 10 best DXF wall clock designs for laser and plasma cutting, plus motor sizing, hole specs, and material tips to sell them fast.
August 27, 2026
Design Roundup
10 Best DXF Designs for Modern Fence Panels (Fiber Laser & Plasma)
Hand-picked DXF designs that look stunning as decorative fence inserts. Cut on fiber laser or plasma in 2-3 mm steel, no rescaling needed, ready in 30 minutes.
May 24, 2026