Tutorial
Stainless Steel Fiber Laser Cutting Settings — Beginner's Guide
Practical power, speed, and gas settings for cutting 0.5 mm to 8 mm stainless steel on a fiber laser. Includes mirror-edge tricks, common defects, and how to avoid burnt edges.
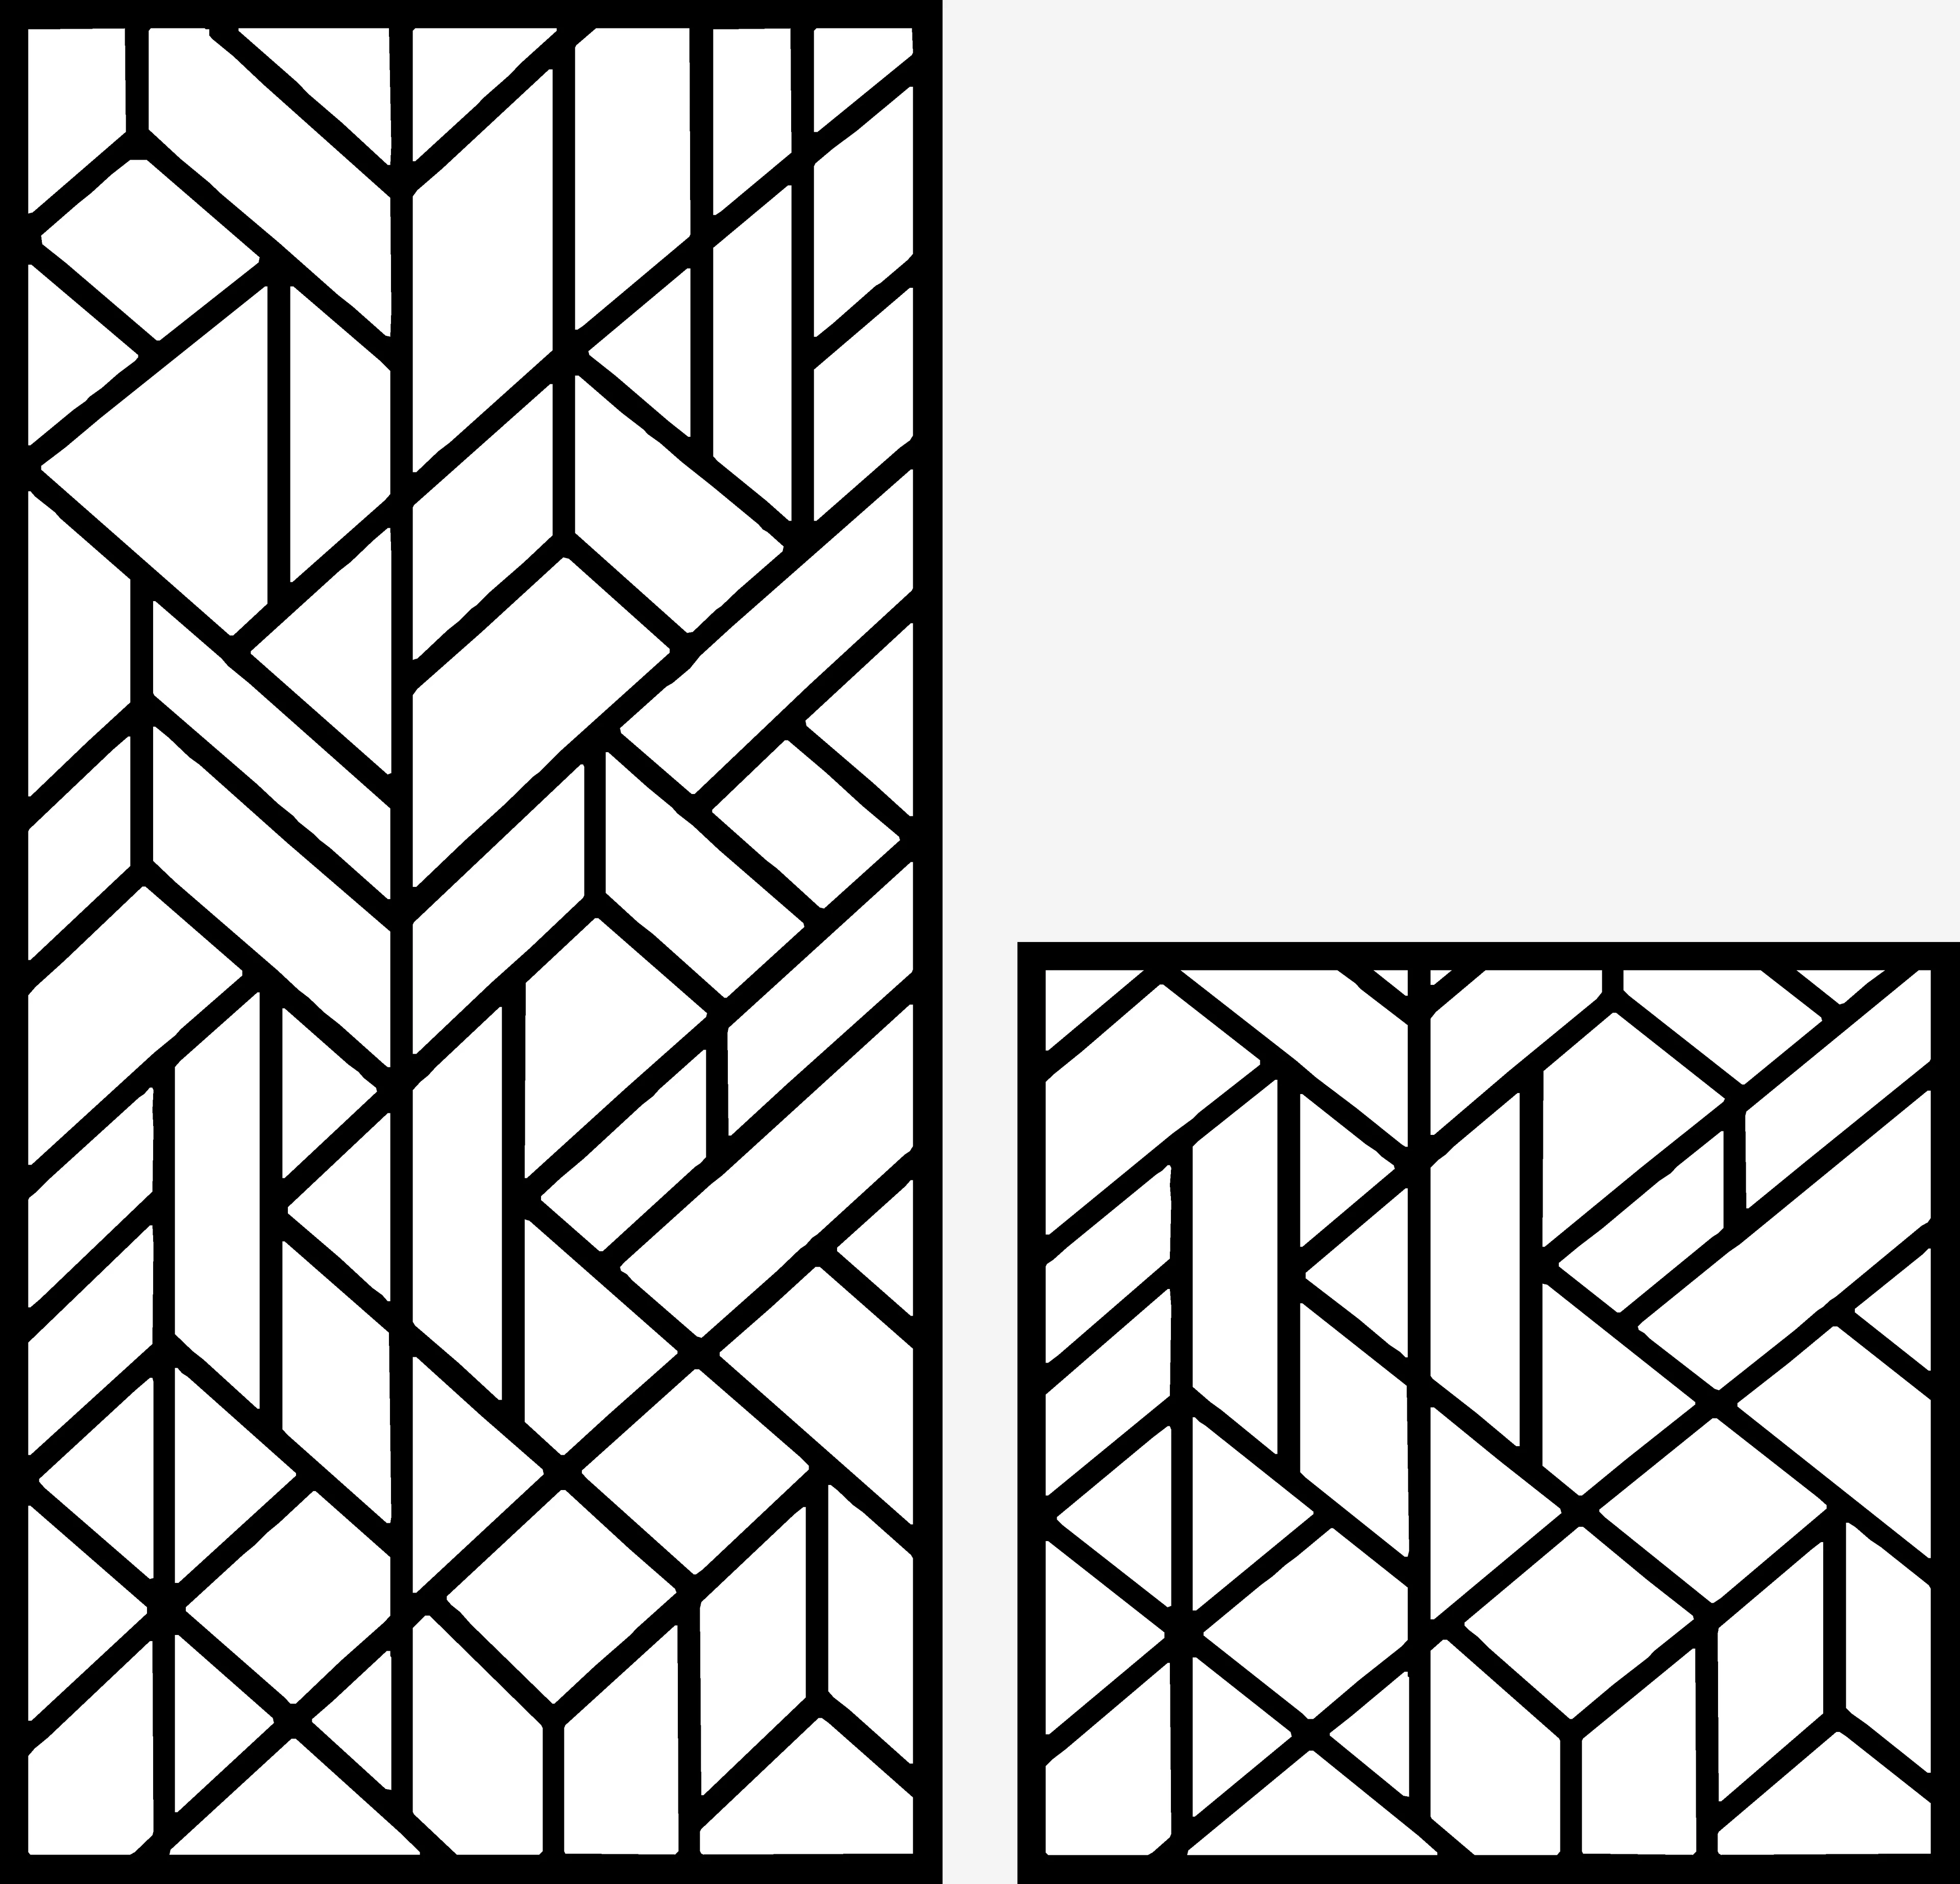
Fiber laser is the only practical tool for cutting clean stainless steel. CO2 can do thin sheets at high wattage, but for daily production work — fiber wins on speed, edge quality, and cost per cut.
This guide gives you the settings that actually work in production, the gas choices that matter, and the defects that mean you’re doing something wrong.
The 3 things that matter most
For stainless steel on fiber laser, 80% of your cut quality comes down to:
- Assist gas type (more important than power)
- Nozzle distance to material (more important than speed)
- Beam focus position (more important than feed rate)
Get these three right and an average 1 kW machine cuts better than a fancy 4 kW machine with sloppy setup.
Power × Speed × Gas — the starting matrix
These are field-tested starting points on a typical 1 kW fiber. Adjust ±10-20% for your specific machine, but you’ll be in the ballpark.
304 / 316 stainless steel
| Thickness | Power | Speed | Gas | Pressure |
|---|---|---|---|---|
| 0.5 mm | 600 W | 200 mm/s | N2 | 8 bar |
| 0.8 mm | 700 W | 160 mm/s | N2 | 10 bar |
| 1.0 mm | 800 W | 120 mm/s | N2 | 12 bar |
| 1.5 mm | 900 W | 80 mm/s | N2 | 14 bar |
| 2.0 mm | 1000 W | 50 mm/s | N2 | 16 bar |
| 3.0 mm | 1000 W | 30 mm/s | N2 | 18 bar |
| 4.0 mm | 1000 W | 18 mm/s | N2 | 18 bar |
| 6.0 mm | 1500 W+ | 10 mm/s | N2 | 20 bar |
| 8.0 mm | 2000 W+ | 6 mm/s | N2 | 22 bar |
For mild steel (where edge oxidation is fine), substitute O2 at 0.6-1.0 bar and you’ll cut roughly 30-40% faster at lower power.
Gas choice — the single biggest decision
Nitrogen (N2)
- Use when: you want a clean, oxidation-free, mirror-bright cut edge
- Cost: expensive — you’ll use 10-20 m³ per cutting hour
- Best for: stainless, aluminium, anywhere the cut edge is visible in the final product
- Result: edge can be polished or left as-cut
Oxygen (O2)
- Use when: cutting mild steel and you don’t care about edge oxidation
- Cost: cheap
- Best for: structural mild steel, hidden cut edges, very thick mild steel
- Result: black/dark edge, can be powder-coated but not polished
Compressed air
- Use when: cheap material, hidden cut edge, thin steel
- Cost: nearly free (your compressor’s already there)
- Best for: prototype cuts, ≤1.5 mm steel where edge will be welded or painted
- Result: dirty edge, possibly burrs — but acceptable for hidden surfaces
For decorative panels where the cut edge is visible — always N2.
Nozzle stand-off distance
The distance between the nozzle tip and the material surface critically affects gas flow over the cut. Standard recommendation:
- 0.5 – 1.5 mm thick: 0.8 mm stand-off
- 2 – 4 mm thick: 1.0 mm stand-off
- 5 – 8 mm thick: 1.2 mm stand-off
Too close → nozzle hits sheet, slag fouls optics. Too far → gas pressure drops, cut becomes dirty.
Calibrate with a feeler gauge or your machine’s built-in capacitive sensor.
Beam focus position
For straight clean cuts on stainless ≤2 mm, focus the beam on the top surface (Z = 0).
For thicker stainless (3 mm+), focus slightly below the top (Z = -1 mm to -2 mm). This makes the beam waist sit in the middle of the cut depth, ensuring even kerf width top to bottom.
If you skip this and run thick steel with focus at the top, your bottom edge will be wider than the top → “bell-mouth” cut. Bad for tight tolerances.
Common defects and what they mean
Dross / slag on the bottom edge
- Cause: too slow OR too much power OR gas pressure too low
- Fix: increase speed by 10%, OR decrease power by 10%, OR increase gas pressure
Wide, fuzzy kerf
- Cause: bad focus position
- Fix: re-calibrate focus to top surface (or -1 mm for thick)
Burnt / oxidized edge (when using O2)
- Normal — that’s what O2 cutting looks like
- If you don’t want it: switch to N2
Yellow / brown discoloration on stainless
- Cause: contamination from O2 in nitrogen line
- Fix: purge nitrogen line, check N2 cylinder purity (need 99.95%+)
Striation marks on the cut edge
- Cause: too fast for the power, beam not penetrating fully before the cut moves on
- Fix: slow down 10-20%, or increase power 10%
Inconsistent cut width across the sheet
- Cause: bed not level, OR sheet not flat
- Fix: re-level the bed (laser leveling routine), or weight down the sheet edges
Cut doesn’t make it through
- Cause: undeposited power, dirty focus lens, or bad nozzle
- Fix: clean optics, replace nozzle, check focus, increase power
How to dial in YOUR specific machine
Every fiber laser is slightly different. To find YOUR optimal settings:
- Pick a representative thickness (1 mm stainless is the gold standard for calibration)
- Print out a “calibration matrix”: 5 columns × 5 rows of small 30×30 mm squares
- Vary speed across columns (e.g., 50, 80, 110, 140, 170 mm/s)
- Vary power across rows (e.g., 500, 700, 900, 1100, 1300 W)
- Cut the entire matrix at constant gas (N2, 12 bar)
- Inspect each square — look for the one with cleanest edge AND fastest speed
- Note the settings — those are your baseline for that thickness
Refine from there for production volume.
Tips for the visible-edge decorative work
Most DXFForge designs end up on visible walls, fences, or as gates — the cut edge is visible to your customer. So:
- Use N2, not air — even if it costs 3x more, the edge quality justifies it
- Slow down 15-20% from “production max” — speed maxima are for invoiced steel beams, not decorative panels
- De-burr after cut — even a clean cut has microscopic burrs; quick wire-brush gives a finger-safe edge
- Power test on offcuts — different stainless batches (304L vs 316 vs 304/2B finish) cut slightly differently
What this looks like in practice
A 1.5 m × 0.9 m decorative fence panel in 2 mm stainless (e.g., GEO-22):
- Machine: 1 kW fiber laser
- Settings: 900 W, 50 mm/s, N2 at 16 bar, 1.0 mm stand-off, focus Z=-0.5 mm
- Cut time: ~28 minutes
- Material cost (2 mm 304 stainless sheet, 1.5×0.9 m): ~$120
- N2 consumed: ~5 m³ = ~$15-25 depending on supplier
- Sale price (decorative fence panel, EU/US market): $700-1200
Margin is real — provided your edge quality is real. Don’t shortcut on gas.
Bottom line
For clean stainless steel cuts, your priority order is:
- N2 (not air)
- Correct stand-off (~1 mm)
- Correct focus (top surface for thin, slightly below for thick)
- Power and speed within the matrix
Get those right and a $7K fiber laser produces $1000-an-hour decorative work all day long.
Every DXFForge design is built for these settings — no special tweaks, no custom kerf comp, no manual path repairs. Just drop the .dxf into LightBurn or EZCAD and cut.
Designs mentioned in this article


More articles
House Signs
10 Best DXF Designs for Modern House Signs & Address Plaques
Curated list of the 10 best DXF designs for house signs and address number plaques. Modern styles, material recommendations, install tips. Ready to cut on fiber laser or plasma.
June 8, 2026
Wall Clocks
10 Best DXF Designs for Metal Wall Clocks (Laser & Plasma Cut)
Discover the 10 best DXF wall clock designs for laser and plasma cutting, plus motor sizing, hole specs, and material tips to sell them fast.
August 27, 2026
Design Roundup
10 Best DXF Designs for Modern Fence Panels (Fiber Laser & Plasma)
Hand-picked DXF designs that look stunning as decorative fence inserts. Cut on fiber laser or plasma in 2-3 mm steel, no rescaling needed, ready in 30 minutes.
May 24, 2026