Powder Coating
Powder Coating Laser Cut Steel Panels — Prep, Colours & Costs
A practical guide to powder coating laser cut metal panels: edge prep, degreasing, rust prevention, colour choice, outdoor durability and what coaters actually charge.
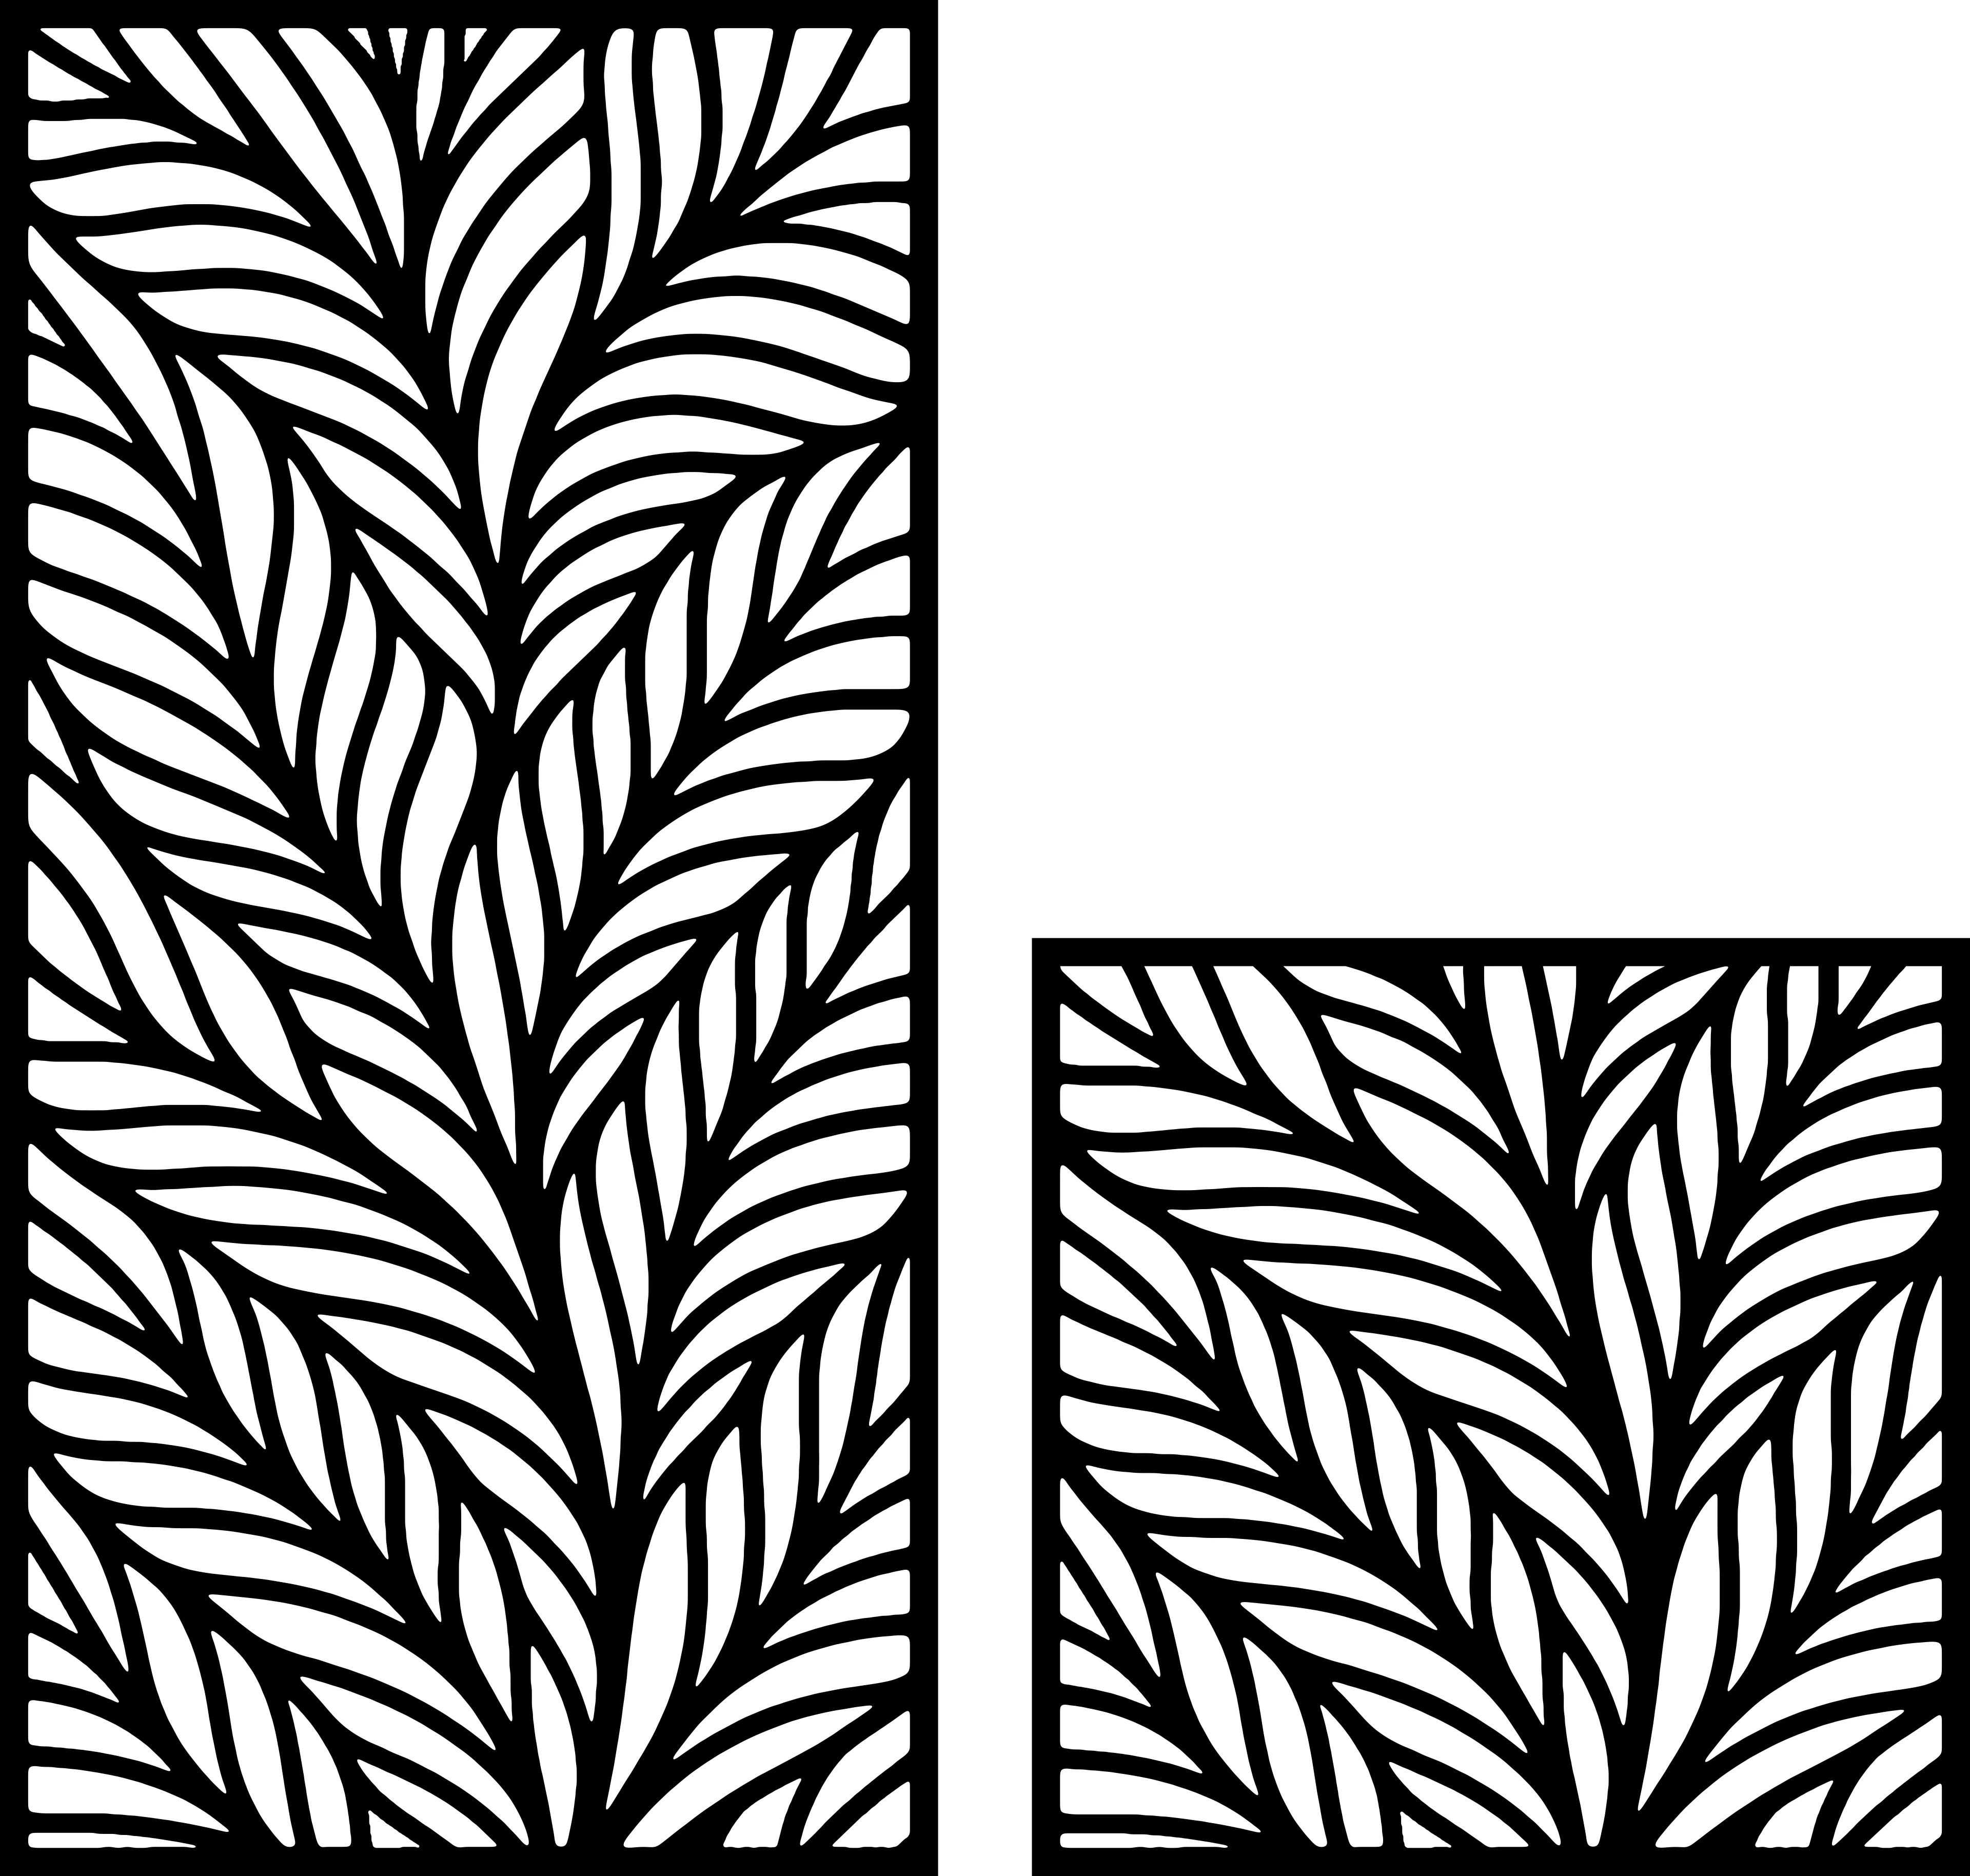
The cut is the easy part. What separates a $200 panel from an $800 panel is almost always the finish, and for laser cut steel that means powder coating.
This guide covers what you need to do before the panel reaches the coater, what to specify, and what it should cost. Most of the problems that show up after coating were created in the ten minutes after the panel came off the laser bed.
Why powder coat rather than paint
Powder coating is dry pigment electrostatically attracted to the part, then baked at around 180–200 °C until it flows into a continuous film. It gives you a thicker, tougher, more even film than spray paint, with no runs and no solvent smell.
For laser cut panels specifically it has one more advantage: it flows around the cut edges. A pattern panel has an enormous amount of edge relative to its area — a dense 1,200 × 2,400 mm panel can have 60+ metres of cut edge. Liquid paint thins on those edges and they are the first place rust appears. Powder builds there properly.
The trade-offs: you need an oven big enough for the panel, the part must tolerate 200 °C, and touch-up after installation is awkward.
Prep is 80% of the result
1. Deburr every edge
A fiber laser leaves a clean top edge and, depending on your gas and settings, a small amount of dross on the underside. Powder coat does not hide dross. It coats it, and you end up with a rough, gritty line along every cut that the customer will run a finger along.
Run a flap disc or a scotch pad over the back face. On a dense pattern this takes 20–40 minutes and it is not optional. If you are getting heavy dross, fix it at the machine — our mild steel settings guide covers the gas pressure and focus changes that reduce it.
2. Remove all oil
Steel arrives from the supplier with a light oil film. Your hands add more. Powder will not adhere through oil, and the failure shows up as fish-eyes and bare patches after baking.
Degrease with a solvent wipe or an alkaline wash, then handle the panel with clean gloves only. Do not use WD-40 as a rust preventative before coating — it leaves a residue that is difficult to remove fully.
3. Deal with rust and mill scale
Hot-rolled steel comes with mill scale, a dark blue-grey oxide layer. It looks solid but it is not well bonded, and coating over it means the coating comes off when the scale does.
Options, cheapest first:
- Cold-rolled steel — no scale to begin with. Costs more per sheet but saves the prep entirely. Worth it for indoor panels.
- Sandblasting — the coater usually offers this. Adds $30–70 per panel and gives the best possible key.
- Acid pickling — effective but messy and needs proper disposal.
For outdoor panels, do not skip this. Scale under powder coat is the single most common cause of panels failing within two years.
4. Mask what must stay bare
Threaded holes, mating faces and earth points need masking with high-temperature tape or silicone plugs. Tell the coater which features matter; they cannot guess which 8 mm hole is a clearance hole and which is a tapped boss.
Choosing a colour and finish
Matte black (RAL 9005, matte or 30% gloss). The default for architectural panels. Hides minor surface imperfections, photographs well, reads as deliberate. If you are only going to stock one colour, stock this.
Anthracite grey (RAL 7016). Softer than black, very popular on European exteriors, pairs well with timber and render. Shows dust less than black on horizontal surfaces.
Satin black (around 50% gloss). Slightly easier to clean than matte, slightly more reflective. Shows fingerprints more.
White and off-white (RAL 9010, 9016). Striking for interior screens against a dark wall. Shows every speck of dirt outdoors.
Corten-look coatings. A powder that mimics weathered steel without the actual rust staining. Useful when the client wants the Corten aesthetic but cannot accept the run-off — see our Corten guide for when real Corten is the better answer.
Matte finishes hide surface defects better than gloss. On a panel with 60 metres of cut edge, that matters.
Outdoor durability
Not all powder is the same, and the difference only shows up after two years in the sun.
Polyester (TGIC or TGIC-free) — the standard architectural powder. Good UV resistance, holds colour and gloss for 5–10 years outdoors. This is what you want for garden screens, fence panels and gates.
Epoxy — excellent adhesion and chemical resistance, but chalks badly in sunlight. Indoor use only.
Epoxy-polyester hybrid — cheaper, fine indoors, not for exterior.
Super-durable polyester — rated for 15–25 years of colour hold. Costs maybe 15% more. Specify it for anything coastal or south-facing.
Ask the coater which powder they are using. “Black powder coat” is not a specification. If they cannot tell you the resin type, find another coater for outdoor work.
For coastal and wet environments
Specify a zinc-rich primer under the topcoat, or have the panel hot-dip galvanised before coating (duplex system). This roughly doubles the finishing cost and roughly quadruples the service life near salt water.
Note that galvanising a cut panel introduces its own problem: zinc runs and pools in the pattern openings. Tell the galvaniser the part is decorative so they drain and spin it properly.
What it costs
Prices vary widely by region, but as a sense of scale in 2026:
| Panel size | Typical coating cost | With sandblast |
|---|---|---|
| 600 × 1,800 mm | $45–80 | $75–130 |
| 900 × 2,000 mm | $60–110 | $95–170 |
| 1,200 × 2,400 mm | $90–160 | $140–240 |
Most coaters price by surface area or by rack space, with a minimum charge of $50–100. Batch your panels. Sending one panel at a time is the fastest way to destroy your margin.
Ask about:
- Minimum charge — often the deciding factor on small jobs
- Oven size — a 2,400 mm panel does not fit every oven
- Turnaround — typically 3–7 working days
- Hanging points — every part hangs from something, and that point will have a small coating gap. Agree where it goes.
Common failures and their causes
Fish-eyes (small craters). Oil or silicone contamination. Degrease properly; keep silicone sprays out of the workshop.
Coating flaking off in sheets. Mill scale or rust underneath. Blast before coating.
Rust bleeding from cut edges after a year outdoors. Edge was not properly covered, usually because the powder was applied too thin or the edge was sharp. Deburr to a slight radius rather than leaving a knife edge.
Colour mismatch between batches. Different powder lots vary slightly. If a job needs multiple panels, coat them all together and say so when ordering.
Orange peel texture. Usually a cure or application issue at the coater’s end. Matte finishes hide it; gloss finishes show it clearly.
A workable process
- Cut the panel, mark the top on the protective film
- Deburr the back face and soften every cut edge
- Weld the frame, dress the welds
- Degrease thoroughly, handle with gloves from here on
- Deliver to the coater with blasting specified for outdoor parts
- Specify resin type, RAL number, gloss level and hanging point
- Inspect under raking light before it leaves the shop
Done properly, a powder coated panel in super-durable polyester over blasted steel will still look right in fifteen years. Done badly, it will look tired in two — and the customer will remember who made it.
Every design in our catalogue is drawn as closed, kerf-aware geometry so the cut edges come off the machine clean, which is exactly what makes the finishing stage predictable.
Designs mentioned in this article


More articles
House Signs
10 Best DXF Designs for Modern House Signs & Address Plaques
Curated list of the 10 best DXF designs for house signs and address number plaques. Modern styles, material recommendations, install tips. Ready to cut on fiber laser or plasma.
June 8, 2026
Wall Clocks
10 Best DXF Designs for Metal Wall Clocks (Laser & Plasma Cut)
Discover the 10 best DXF wall clock designs for laser and plasma cutting, plus motor sizing, hole specs, and material tips to sell them fast.
August 27, 2026
Design Roundup
10 Best DXF Designs for Modern Fence Panels (Fiber Laser & Plasma)
Hand-picked DXF designs that look stunning as decorative fence inserts. Cut on fiber laser or plasma in 2-3 mm steel, no rescaling needed, ready in 30 minutes.
May 24, 2026