Room Dividers
Laser Cut Room Dividers: Design, Sizing & Mounting Guide (With DXF Files)
How to design, size, cut and mount a laser cut metal room divider. Panel dimensions, material thickness, frame options, floor-to-ceiling mounting and the DXF patterns that work best.
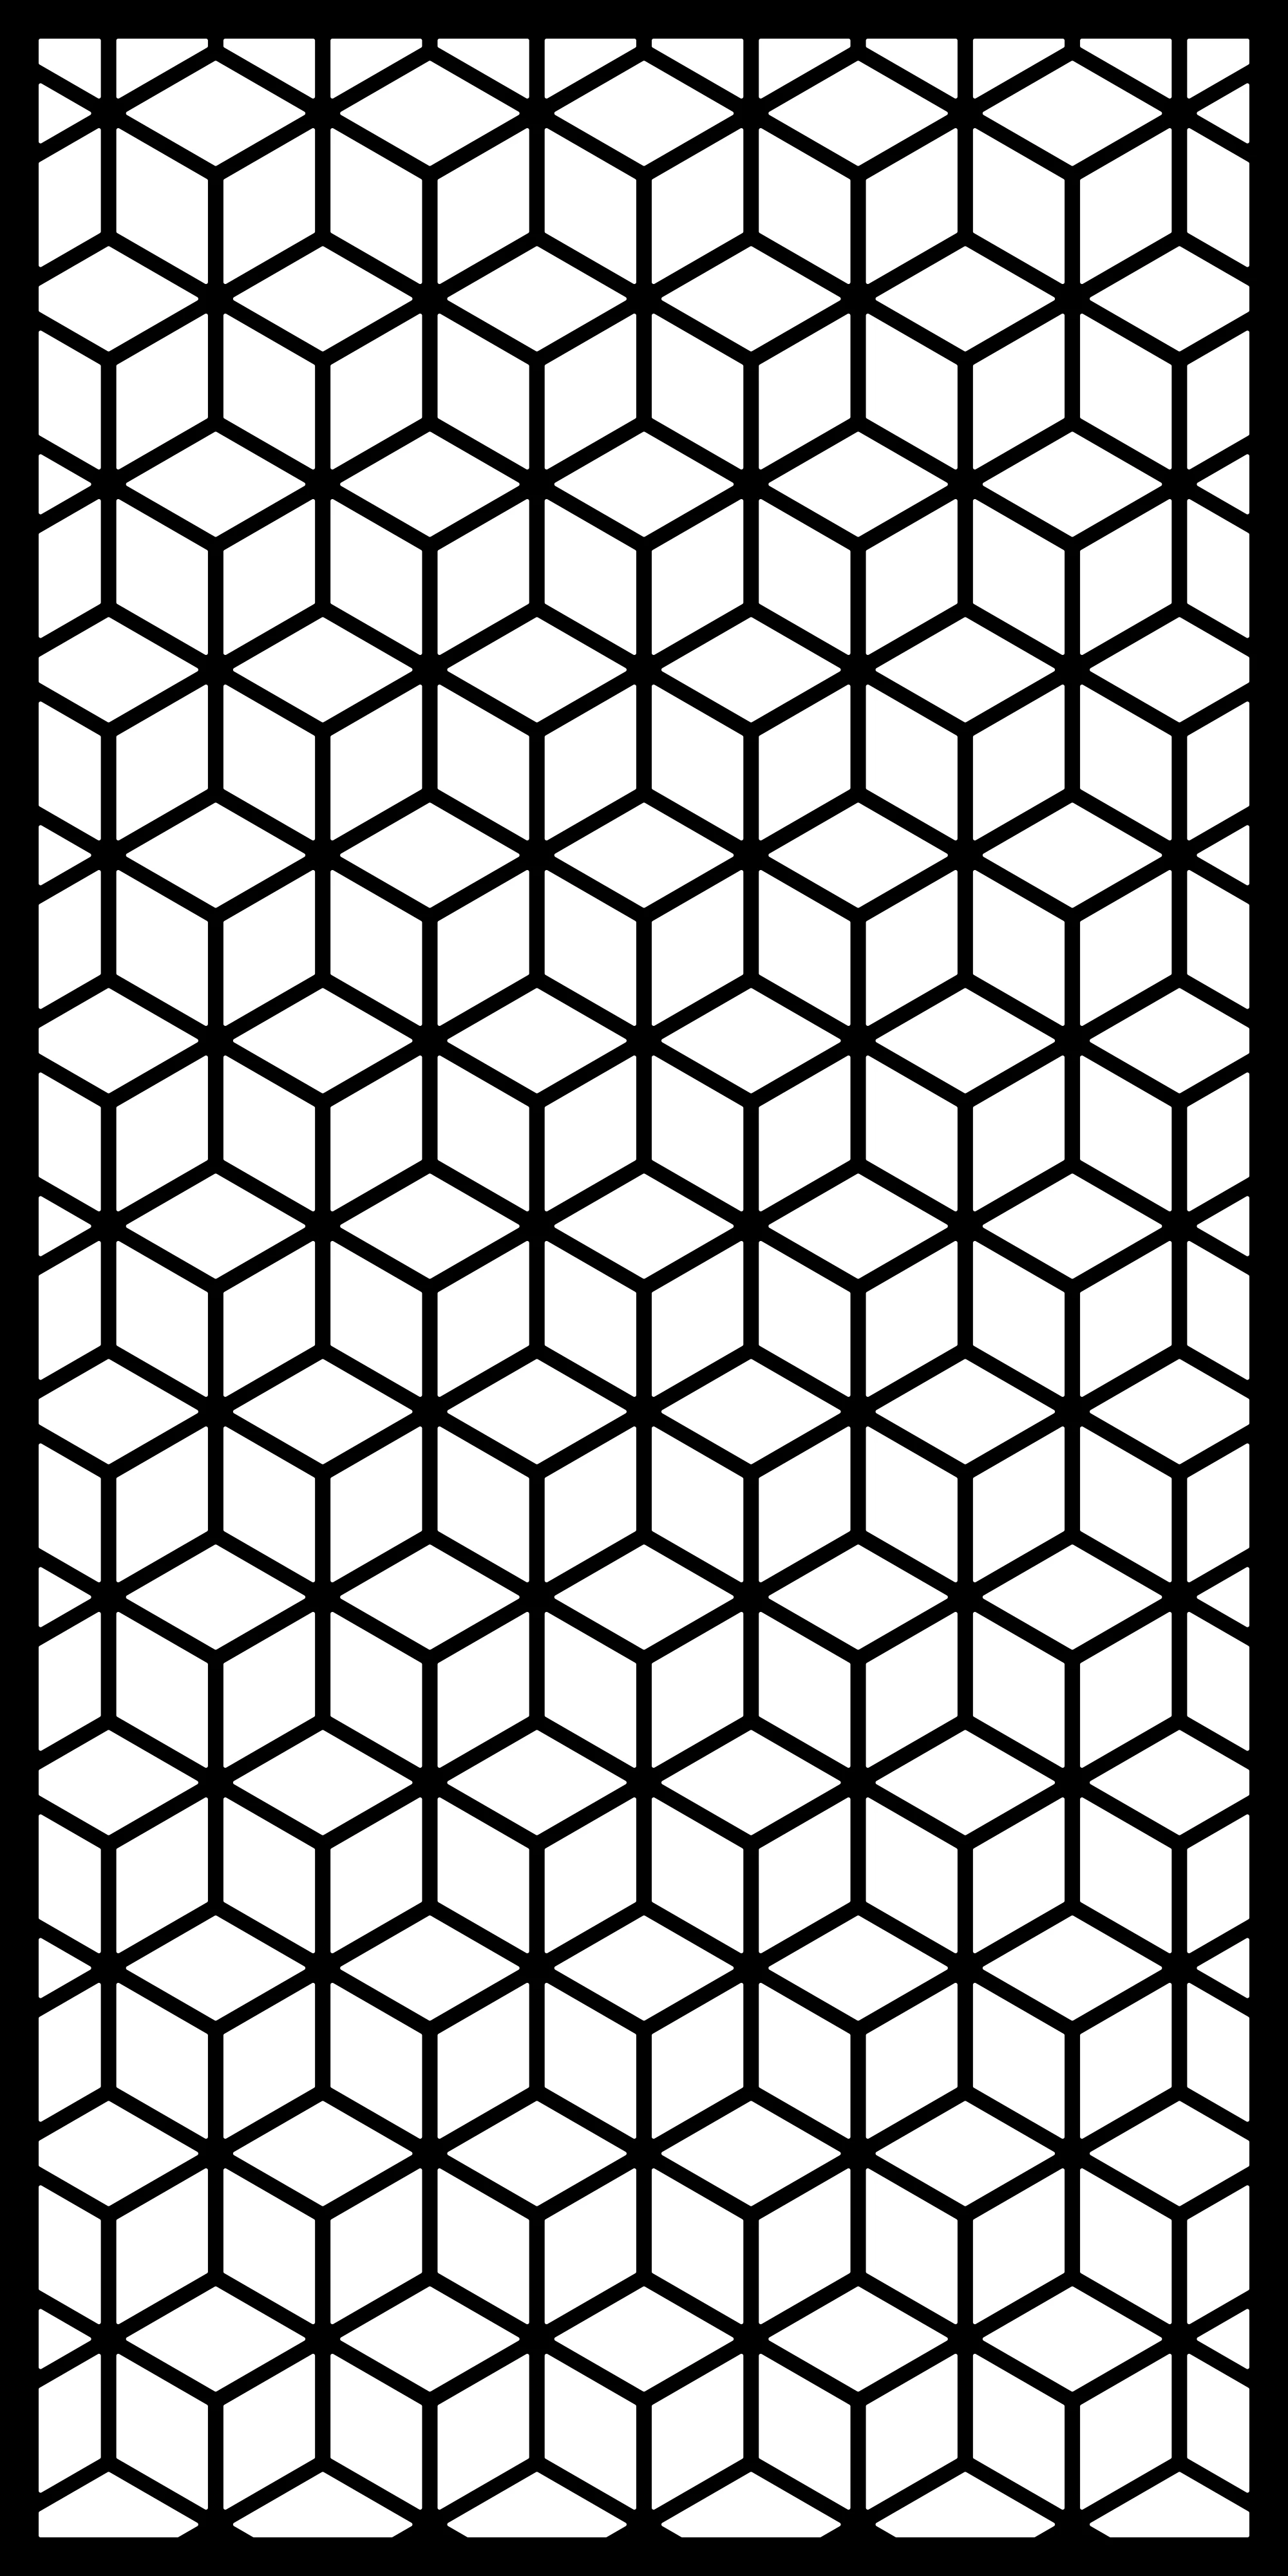
A laser cut room divider is one of the highest-margin products a small metal shop can sell. The material cost sits around $40–90 for a single panel in 2 mm mild steel. The finished piece sells for $400–1,200 installed. The difference is design, finish and fit — not machine time.
This guide covers the decisions that actually matter: panel size, material thickness, pattern density, frame construction and mounting. Get these right and the piece looks architectural. Get them wrong and it looks like a cut sheet leaning against a wall.
Start with the opening, not the panel
Measure the opening first and work backwards. Most interior dividers fall into three categories:
Partial-height screen (1,800–2,000 mm tall). Freestanding on a base or two feet. Easiest to make, easiest to ship, no building work. This is the format to start with if you are selling online.
Floor-to-ceiling fixed panel. Fixed to floor and ceiling with a channel or bracket. Looks built-in and commands the highest price, but you need the exact ceiling height and the customer needs to accept drilling.
Hung screen. Suspended from a ceiling track, no floor fixing. Good for rentals and for rooms with underfloor heating where drilling is out of the question.
For anything over 2,400 mm tall, split the design into two stacked panels with a horizontal rail between them. A single sheet that tall will flex and drum when someone walks past.
Standard sizes worth standardising on
Keep a short list of sizes and you will cut your drawing time dramatically:
| Format | Panel size (mm) | Typical use |
|---|---|---|
| Narrow screen | 600 × 1,800 | Beside a desk, single-panel divider |
| Standard screen | 900 × 2,000 | Entry screen, freestanding divider |
| Wide panel | 1,200 × 2,400 | Room split, paired with a second panel |
| Stacked half | 1,200 × 1,200 | Two per opening, horizontal rail between |
These fit standard sheet sizes with usable offcuts. A 1,250 × 2,500 mm sheet gives you one 1,200 × 2,400 panel with a thin border left over, or two 600 × 1,800 screens side by side with room for the frame strips.
Material and thickness
Thickness is a structural choice, not a cosmetic one. A divider is a large flat plate with a lot of material removed, so it wants to oil-can and twist.
1.5 mm mild steel — only for panels up to about 900 × 1,800 mm, and only with a welded frame. Below that thickness the panel ripples visibly under its own weight.
2 mm mild steel — the default for interior dividers. Stiff enough for a 1,200 × 2,400 mm panel inside a frame, still light enough for two people to lift. This is what most of our panel designs are drawn around.
3 mm mild steel — for frameless panels and anything structural. Heavy. A 1,200 × 2,400 mm sheet at 3 mm is roughly 68 kg before you cut anything out, so plan the lift and the fixings.
Aluminium 3 mm — for hung screens where weight matters. Cuts fast on a fiber laser, takes powder coat well, but dents more easily and costs more per panel. See our guide on cutting aluminium cleanly on a fiber laser before you quote one.
Stainless 2 mm — for bathrooms, kitchens and anywhere humid. Costs roughly three times mild steel and needs different cutting gas, but needs no coating if you brush it.
Pattern density changes everything
The same opening with the same panel size feels completely different depending on how much metal you remove.
Open patterns (50–65% removed) let light and sound through. They divide a space visually without closing it. Good for small apartments and for offices where the client still wants an open feel. Large, widely spaced motifs read better than small dense ones at this density.
Medium patterns (35–50% removed) are the sweet spot for most dividers. Enough screening for privacy at an angle, enough opening to avoid a wall-like feel. Nearly all of our geometric and botanical panels sit in this range.
Dense patterns (under 35% removed) read as a decorative wall. Strong privacy, strong shadow play, but they darken the far side of the room noticeably. They also cut slowly — more cut length means more machine time — and they cost more in gas.
A practical test: print the pattern at scale on paper, tape it over the opening and stand where the client will stand. Density that looks good on screen often looks solid in a 3-metre room.
Watch the island problem
Every closed shape inside your pattern that is not connected to the rest of the panel will drop out when it is cut. Those are islands. In a divider that means a hole where you expected a solid piece.
Well-drawn panel files solve this with bridges — small tabs of material that connect each inner shape back to the surrounding metal. The bridge needs to be at least 3 mm wide in 2 mm steel, otherwise it bends during handling. Our panel DXFs ship with bridges already in place, which is most of the reason they drop straight into a controller without cleanup. If you are drawing your own, check every enclosed region before you cut.
Frame construction
A frame does three jobs: it stiffens the panel, it hides the cut edge, and it gives you something to fix to.
Flat bar border (40 × 6 mm). Welded flat to the back of the panel around the perimeter. Simplest option, adds about 10 mm of depth, looks clean from the front. Good for screens up to 1,200 mm wide.
Square tube frame (25 × 25 mm). The panel sits inside or behind the tube and is welded or riveted at intervals. Much stiffer, reads as a deliberate frame from the front. This is the standard for floor-to-ceiling panels.
Frameless with a rolled edge. The panel edge is folded 15–20 mm back on a press brake. No welding, very clean look, but it needs a brake and it limits you to simple rectangles. Budget an extra 20 mm of material on each folded edge when you draw the flat pattern.
If you cut the panel and the frame from the same sheet, nest the frame strips along the edges of the pattern. Our nesting guide covers how to lay this out without wasting the middle of the sheet.
Mounting
Freestanding feet. Two 200 × 150 × 8 mm plates welded perpendicular at the bottom, one at each end. Add adjustable feet if the floor is uneven. The panel must not be able to tip — check that the foot depth is at least 10% of the panel height.
Floor and ceiling channel. A 30 × 30 mm U-channel fixed to floor and ceiling; the panel slides in and is screwed through the side of the channel. Fastest install, very rigid, completely hides the panel edge.
Ceiling-hung. Two or three threaded rods from a ceiling track into tapped bosses welded to the top rail. Nothing touches the floor. Check the ceiling structure first — a 1,200 × 2,400 mm panel at 2 mm is around 45 kg with the frame, which is too much for a plasterboard anchor.
Wall-to-wall fixed. Angle brackets at each side into the wall studs. Cheapest and strongest, but the panel must be cut to the exact opening width, so measure the opening at top, middle and bottom. Walls are rarely parallel.
Finish
Powder coat in matte black is the default for a reason: it hides weld cleanup, it does not show fingerprints, and it reads as architectural rather than industrial. Satin black and anthracite grey are close seconds.
Before coating, deburr every cut edge. A fiber laser leaves a sharp edge and a small amount of dross on the underside, and powder coat will not hide it — it will highlight it. A quick pass with a flap disc on the back face is usually enough.
For raw or clear-coated steel, be honest with the customer about fingerprints. Mild steel left bare will develop surface rust within weeks in a normal house.
Pricing a divider
Work from installed value, not from material cost. A rough structure that holds up in most markets:
- Material and consumables: $40–120 depending on size and thickness
- Cutting time: 25–60 minutes on a 1.5 kW fiber for a medium-density panel
- Frame fabrication and welding: 1–2 hours
- Deburr and prep: 30–45 minutes
- Powder coat: $60–150 outsourced
- Install: 1–3 hours depending on mounting type
Freestanding screens typically land at $400–700. Floor-to-ceiling installed panels land at $900–1,800. Our pricing guide covers how to build the full quote without undercharging for design time.
Common mistakes
Cutting to the opening dimension exactly. Always subtract 3–5 mm per side for a fixed panel. You need clearance to get it in.
Ignoring the floor. Floors slope. A 1,200 mm wide panel on a floor that drops 8 mm across that span will sit visibly crooked. Use adjustable feet or scribe the bottom edge.
Pattern running off the edge awkwardly. Centre the pattern within the panel and let it terminate cleanly at the border. A motif cut in half at the edge looks like a mistake, not a design choice.
Forgetting which way is up. Many patterns are directional. Mark the top on the protective film the moment it comes off the bed.
Where to start
If you are cutting your first divider, take a medium-density geometric pattern, cut it at 900 × 2,000 mm in 2 mm mild steel with a 40 × 6 mm flat bar frame, and powder coat it matte black. That combination is forgiving, it looks right in almost any room, and it gives you a sellable sample piece to photograph.
Every panel design in our catalogue is drawn as a single closed-path, kerf-aware file with bridges in place, tested on real fiber laser and plasma machines. Drop the DXF into your controller, set your kerf, and cut.
Designs mentioned in this article


More articles
House Signs
10 Best DXF Designs for Modern House Signs & Address Plaques
Curated list of the 10 best DXF designs for house signs and address number plaques. Modern styles, material recommendations, install tips. Ready to cut on fiber laser or plasma.
June 8, 2026
Wall Clocks
10 Best DXF Designs for Metal Wall Clocks (Laser & Plasma Cut)
Discover the 10 best DXF wall clock designs for laser and plasma cutting, plus motor sizing, hole specs, and material tips to sell them fast.
August 27, 2026
Design Roundup
10 Best DXF Designs for Modern Fence Panels (Fiber Laser & Plasma)
Hand-picked DXF designs that look stunning as decorative fence inserts. Cut on fiber laser or plasma in 2-3 mm steel, no rescaling needed, ready in 30 minutes.
May 24, 2026