Tutorial
How to Scale DXF Files for Any Wall Size (Without Losing Quality)
Step-by-step guide to scaling DXF cutting files in LightBurn, Fusion 360, and Inkscape. Avoid the 5 common mistakes that ruin a perfect file before it even hits the laser.
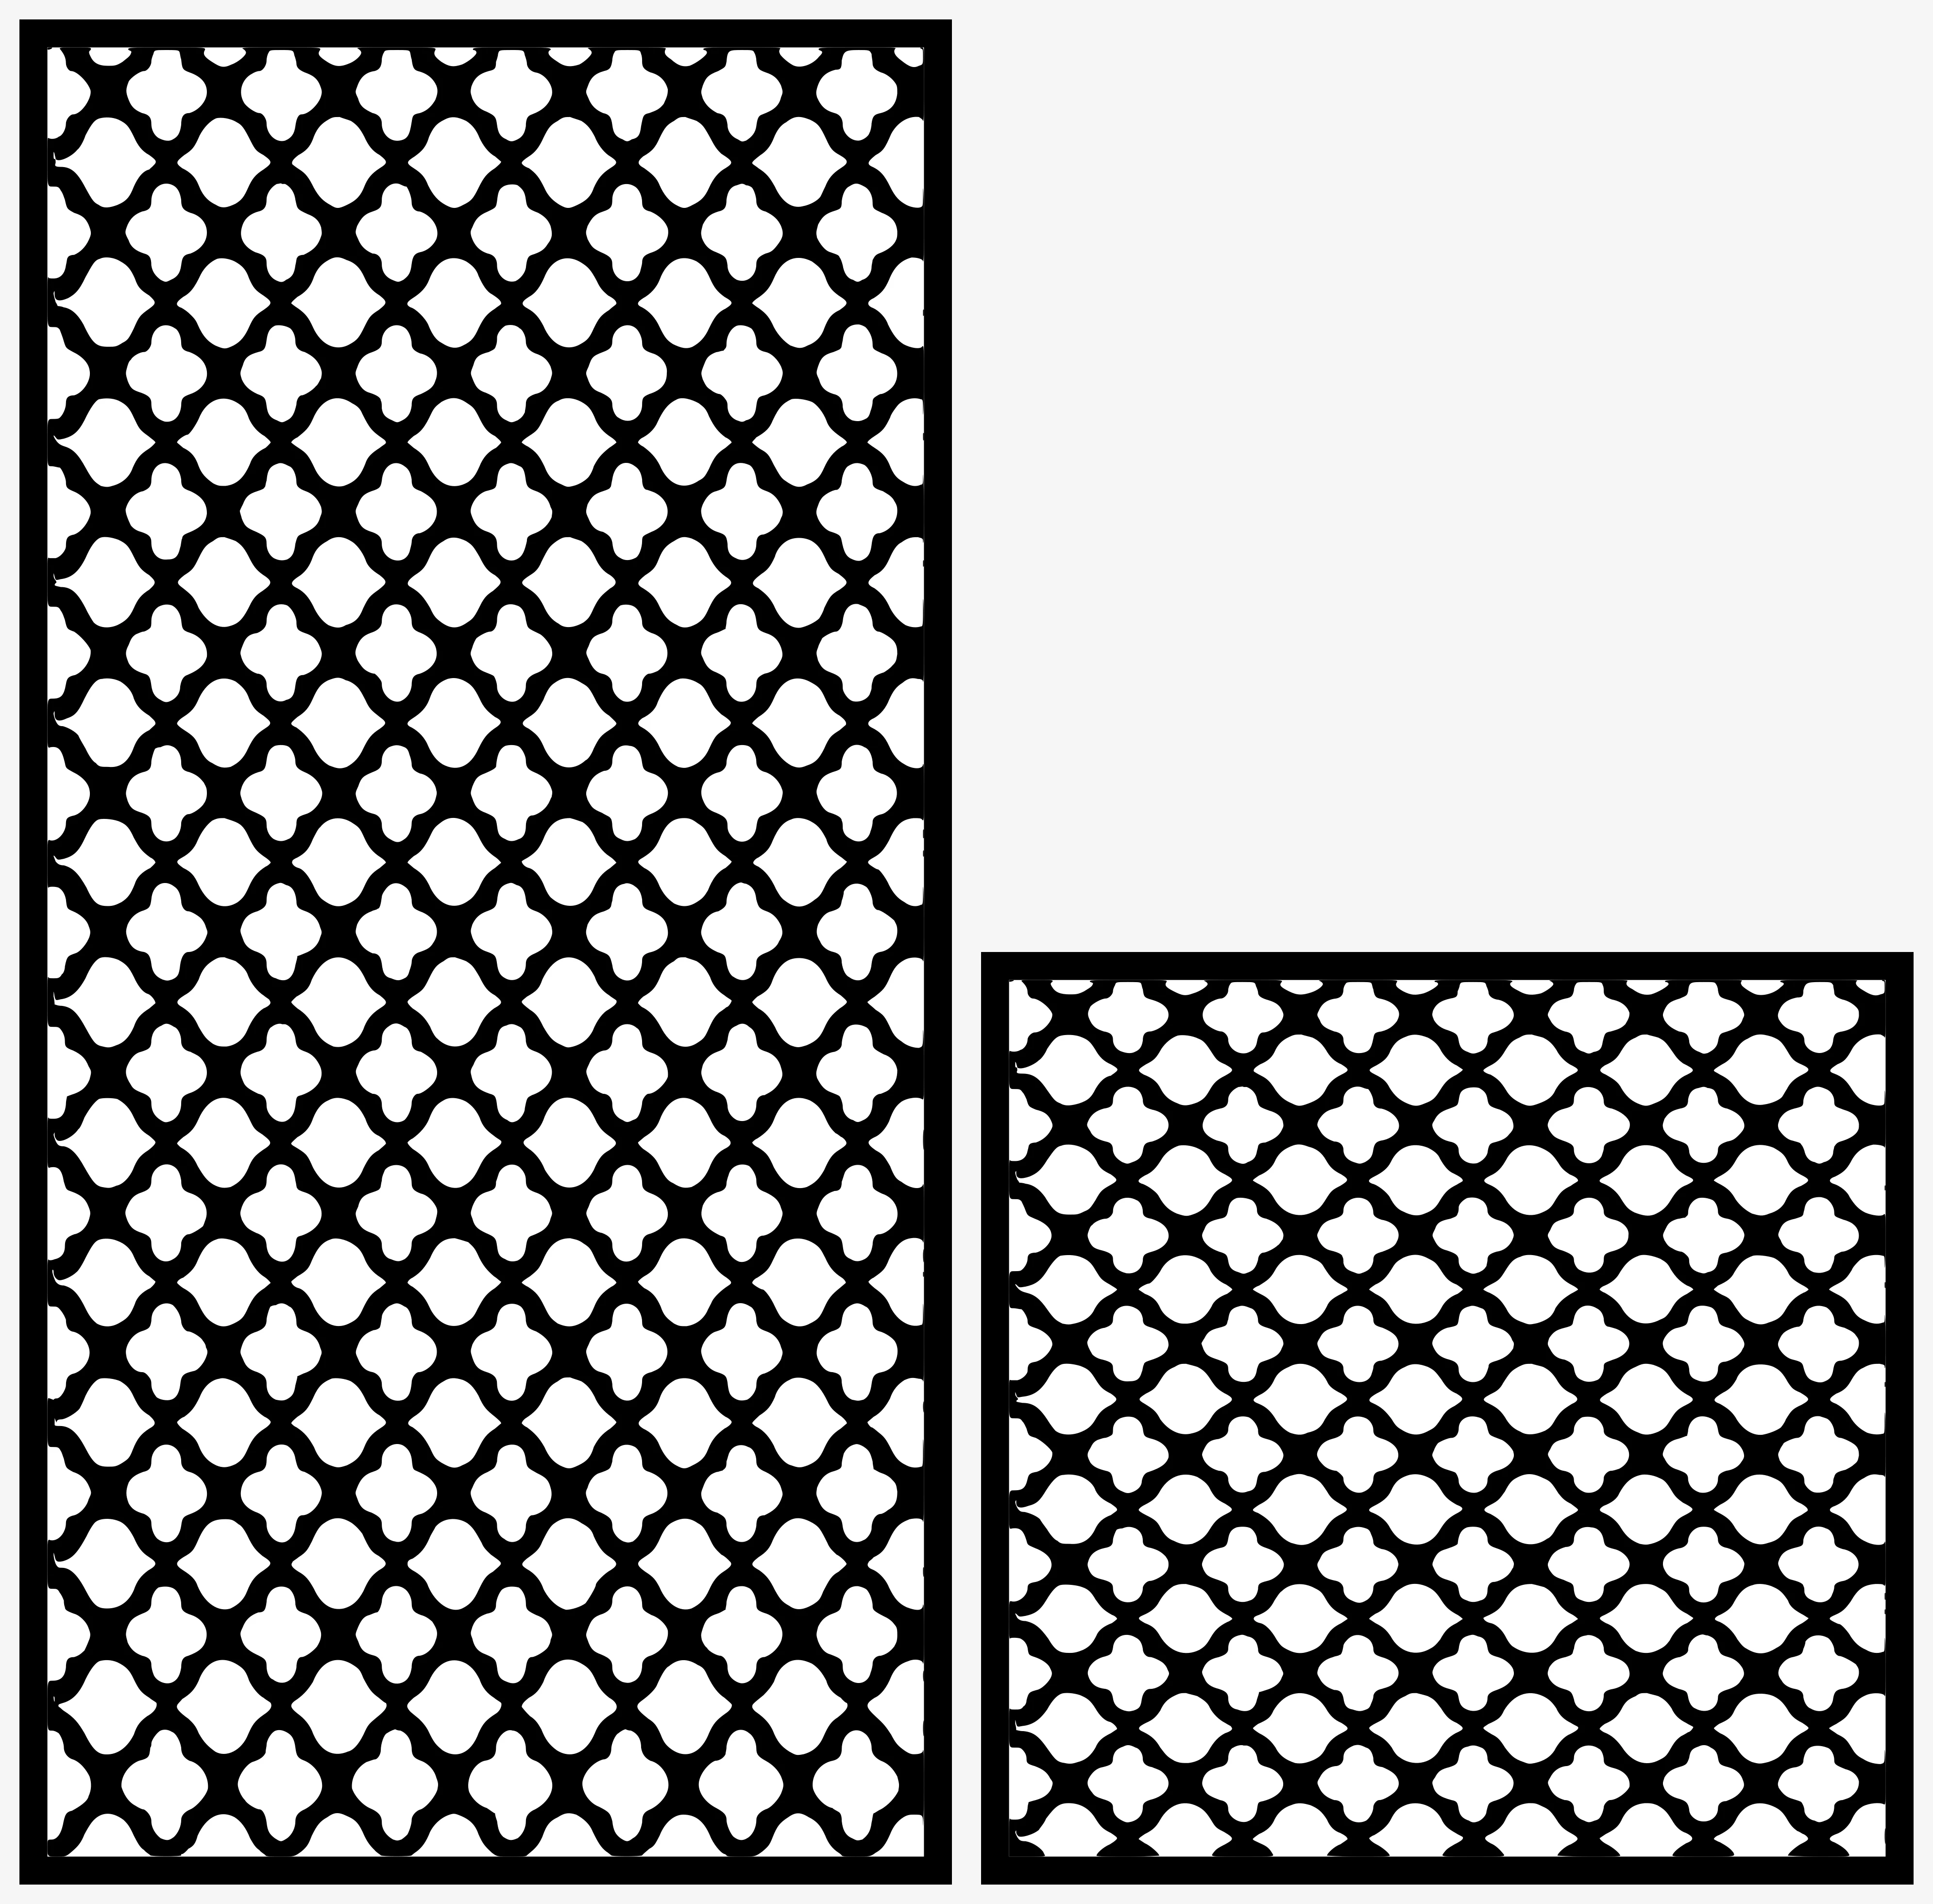
You bought (or downloaded) a beautiful DXF design file. You open it in your laser software. It comes in at 100 mm tall and your wall is 1500 mm. How do you scale it 15x without breaking it?
This guide shows you exactly how — in LightBurn, Fusion 360, and Inkscape — and the 5 mistakes that ruin clean files before they hit the machine.
The basics: DXF files are vector — they scale infinitely
Unlike JPG or PNG (which get pixelated when enlarged), DXF files are mathematical vector descriptions. A line from point A to point B remains a perfect line whether you cut it 10 mm long or 10 metres long. Scaling never reduces detail.
What CAN go wrong:
- Kerf compensation drift — small holes that close up
- Aspect ratio break — squishing the design unintentionally
- Unit mismatch — designing in mm but importing as inches (or vice versa)
- Lost arc resolution — converting arcs to polylines at the wrong precision
- Bridge collapse — bridges (those tiny supports between cut-out shapes) becoming proportionally too thin
We’ll address each below.
In LightBurn (the most common laser software)
- Import your DXF (File → Import → choose .dxf)
- LightBurn asks about units — always pick mm for our files. They’re authored in mm.
- Select all (Ctrl+A)
- Look at the size box top-right — it shows width and height in mm
- Lock the aspect ratio (the little lock icon between W and H values) — critical!
- Type your target height OR width — the other dimension auto-updates
- Hit Tab or click outside the field — the design scales to fit
To center on the bed: Edit → Align → Align to Page Center.
Important LightBurn setting: unit consistency
If LightBurn was previously set to inches, your DXF might import looking 25.4x too big or too small. Fix:
- Settings → Display & Units → Workspace Units = mm
- Then re-import.
In Fusion 360
- Insert → Insert DXF (or just drag the file onto the sketch plane)
- Choose the plane (usually XY)
- After insert: right-click the sketch → Edit Sketch
- Sketch toolbar → Modify → Sketch Scale
- Pick a base point (corner or center)
- Type the scale factor:
- To go from 100 mm to 1500 mm: factor = 15
- To go from 100 mm to 600 mm: factor = 6
- General: factor = target / current
After scaling, finish the sketch, then post for CAM/laser as usual.
In Inkscape (for SVG conversion to laser-ready format)
If your laser software can’t directly read DXF but reads SVG (Glowforge, xTool):
- Inkscape → File → Open → choose your .dxf
- Select all (Ctrl+A)
- Look at the W/H values in the top toolbar
- Make sure the lock icon between W and H is locked (closed padlock)
- Type your target dimension
- Hit Enter
- File → Save As → SVG (Inkscape SVG, not Plain — keeps stroke widths)
Critical: stroke vs fill
For laser cutting, every shape should be a stroke, not a fill. After importing DXF into Inkscape:
- Select all
- Object → Fill and Stroke
- Fill = none (X)
- Stroke = paint (solid color), 0.025 mm hairline
If you leave fills on, your laser will try to ENGRAVE every black area instead of cutting along the lines.
Mistake #1: Forgetting kerf compensation when scaling up
Kerf (the slot the laser burns away as it cuts) is constant regardless of design size. On a fiber laser at ~0.1 mm kerf:
| Design height | Visible kerf impact |
|---|---|
| 100 mm | 0.1 mm = invisible |
| 600 mm | 0.1 mm = barely visible |
| 1500 mm | 0.1 mm = still invisible to eye |
You don’t need to “scale” kerf. The 0.1 mm stays the same. But you DO need to ENABLE kerf compensation if you want internal cuts to come out at exact design size:
In LightBurn: Cut Settings → Kerf Offset → 0.05 mm outward for outer cuts, 0.05 mm inward for inner cuts.
Mistake #2: Squishing the aspect ratio
Sad-but-common. The user types width = 1500 mm, height = 1500 mm, and submits — turning a 100×200 mm portrait into a 1500×1500 mm square.
Always lock aspect ratio before scaling. If you accidentally squish:
- Undo (Ctrl+Z)
- Lock ratio
- Try again
For our designs, the natural aspect ratio is 2:3 (portrait) for most wall panels. Don’t fight it — design for that ratio in your space.
Mistake #3: Unit mismatch (mm vs inches)
DXF files don’t always contain unit metadata. When you import:
- Our files: always mm (we explicitly note this in the file header and the README inside the ZIP)
- Random internet DXF: could be anything. Always check by selecting a known-size feature and reading the dimension.
If you import and the design is 25.4x bigger than expected → you imported as inches when it was mm. If 25.4x smaller → opposite.
Mistake #4: Losing arc resolution at huge scales
When you scale a design from 100 mm to 1500 mm, what was a smooth arc at 0.1 mm chord tolerance is now a smooth arc at 1.5 mm chord tolerance. Most fiber lasers don’t notice. But on very tight curves at very large sizes, you might see faceting.
Fix: in LightBurn → Edit → Convert to Path → re-fit curves before cutting. Or re-export from CAD with higher arc tolerance.
For DXFForge files: our arc tolerance is set at 0.05 mm by default, so even at 5x scale (500 mm) the curves stay smooth.
Mistake #5: Bridge collapse when scaling DOWN
This is the opposite problem — scaling our 600 mm designs DOWN to 200 mm. The bridges (those small connectors between cut-out shapes) become proportionally thin and risk breaking during cut or handling.
Rule of thumb:
- Minimum bridge width: 1 mm at any scale
- If you scale to a size where bridges go under 1 mm: thicken them in your CAD software before cutting
For DXFForge files: bridges are 2 mm at natural size. Scale down to 50% (300 mm) safely; below that, check bridges.
Quick reference: target sizes for common applications
| Application | Recommended height |
|---|---|
| Indoor accent panel | 600 – 900 mm |
| Living room feature wall | 1200 – 1800 mm |
| Garden / pergola side | 1500 – 2000 mm |
| Tabletop / décor object | 200 – 400 mm |
| Earring / jewellery | 30 – 80 mm |
| Stencil / signage | 300 – 600 mm |
All DXFForge designs are tested clean at any size in this table.
Bottom line
- Always lock aspect ratio
- Pick the right unit (mm) on import
- Don’t forget kerf compensation
- Watch bridges when scaling down hard
Then scale away — DXF files have no upper limit. We’ve cut some DXFForge designs at 3 metres tall for industrial clients. Same file, same software, just bigger.
Want files that scale cleanly out of the box? Every design in the DXFForge bundle is authored at natural 600 mm scale with 2 mm bridges, ready for 100 mm to 3000 mm output without modifications.
Designs mentioned in this article


More articles
House Signs
10 Best DXF Designs for Modern House Signs & Address Plaques
Curated list of the 10 best DXF designs for house signs and address number plaques. Modern styles, material recommendations, install tips. Ready to cut on fiber laser or plasma.
June 8, 2026
Wall Clocks
10 Best DXF Designs for Metal Wall Clocks (Laser & Plasma Cut)
Discover the 10 best DXF wall clock designs for laser and plasma cutting, plus motor sizing, hole specs, and material tips to sell them fast.
August 27, 2026
Design Roundup
10 Best DXF Designs for Modern Fence Panels (Fiber Laser & Plasma)
Hand-picked DXF designs that look stunning as decorative fence inserts. Cut on fiber laser or plasma in 2-3 mm steel, no rescaling needed, ready in 30 minutes.
May 24, 2026