Nesting
DXF Nesting 101: How to Cut Material Waste by 20-30% on Every Sheet
Learn practical nesting strategies for laser and plasma cutting that cut scrap rates, save sheet costs, and speed up production runs.
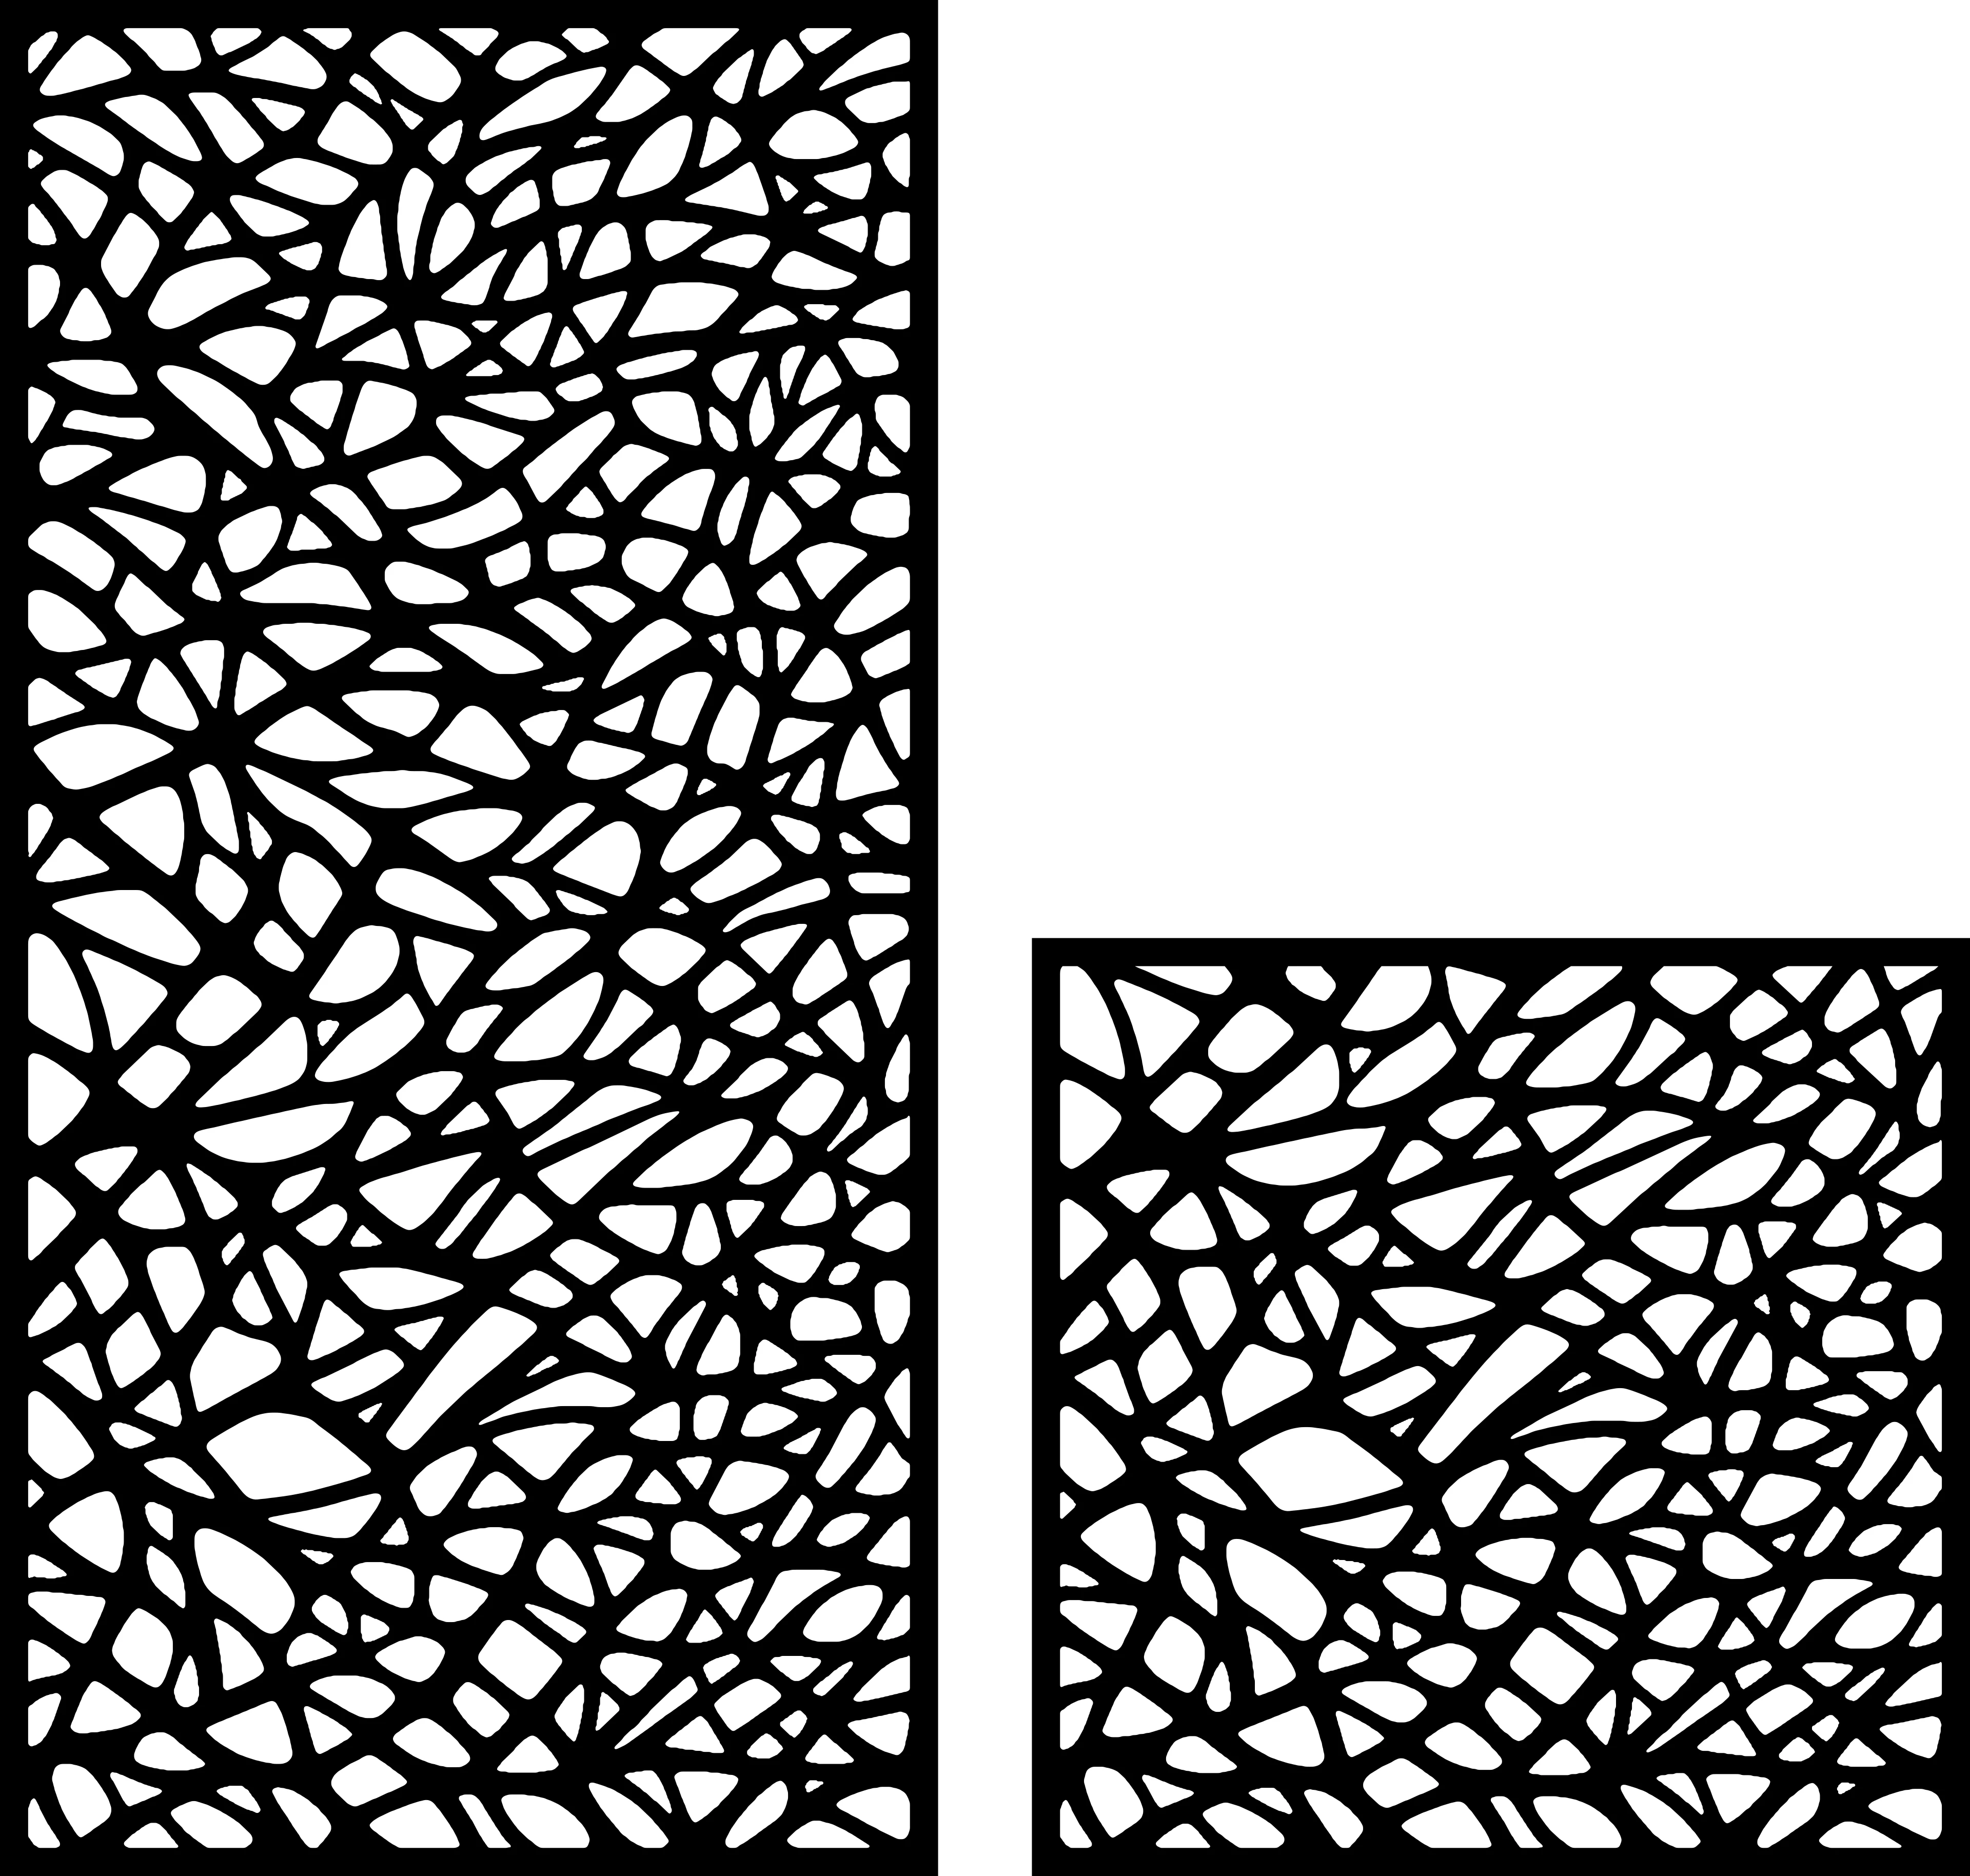
Why Nesting Is the Most Underrated Skill in Laser Cutting
Most shops obsess over cut settings — power, speed, gas pressure — but ignore the step that happens before the laser ever fires: nesting. Nesting is how you arrange parts on a sheet before cutting, and it’s often the single biggest lever for profitability. A shop running 4’ x 8’ mild steel at $180/sheet that improves nesting efficiency from 65% to 85% material utilization isn’t saving pennies — they’re saving roughly $40-50 per sheet, every sheet, forever.
If you’re cutting DXF files for Etsy orders, custom signage, or production runs, this guide covers the nesting techniques that actually move the needle, plus the software features worth paying for.
What “Nesting Efficiency” Actually Means
Nesting efficiency is the percentage of raw sheet area that becomes finished parts versus scrap. Formula:
Utilization % = (Total part area / Total sheet area) x 100A 4’ x 8’ sheet is 4,608 sq in. If your parts total 3,200 sq in after layout, you’re at 69% utilization — decent for irregular shapes, mediocre for anything with straight edges or repeatable geometry.
Industry benchmarks by part type:
- Rectangular/geometric parts: 85-92% is achievable
- Organic/botanical shapes: 60-75% is realistic
- Mixed batch orders: 70-80% with good rotation strategy
If you’re consistently under 65%, you’re leaving money on the table.
Rotation Is Your First and Cheapest Win
Most nesting software defaults to 0°/90° rotation only. That’s fine for squares and rectangles, but curved or angular designs almost always nest tighter at odd angles — 15°, 37°, 73°, whatever fills the gap.
Manual test: take an abstract geometric piece like abs-12 and try nesting four copies at 0° rotation, then try rotating alternating copies 180° so the wide end of one tucks into the narrow gap of the next. On interlocking angular designs this alone can reclaim 8-15% of sheet area.
Rule of thumb: any part with asymmetric width along its length (tapered, triangular, or organic outlines) benefits from rotation testing. Perfectly symmetrical circles and squares don’t — save your time there.
True Shape Nesting vs. Bounding Box Nesting
This is the biggest software distinction that affects your bottom line.
- Bounding box nesting treats every part as if it sits inside its rectangular boundary. Fast, but wasteful — a circular pendant gets boxed into a square with 21% wasted corner area.
- True shape (contour) nesting follows the actual outline, allowing parts to interlock like puzzle pieces.
If your software (LightBurn, SheetCam, or a dedicated nesting tool) supports true shape nesting, use it for anything botanical or abstract. A batch of bot-01 style leaf panels nested by bounding box might hit 55% utilization; the same batch with true shape nesting routinely clears 70%+.
Free/budget tools like LightBurn have basic auto-arrange; if you’re running high-volume production, dedicated nesting software (SigmaNEST, Vetric’s nesting module, or ProNest) pays for itself within a few months on sheet savings alone.
Mixed-Batch Nesting: Combine Small Orders Into One Sheet
Etsy sellers and small shops often cut one order at a time — a mistake. If you’re filling a 4x4 or 4x8 sheet with a single 12” x 12” design, you’re wasting the remainder unless you plan for it.
Batch strategy:
- Group open orders by material and thickness first (you can’t mix 14ga and 16ga in one cut anyway)
- Sort by rough size — largest parts first
- Fill gaps with smaller, unrelated designs that share the same material/thickness
This is where having a broad design library helps. If you’re already cutting a large abstract panel and have 6” x 6” of open sheet left, that’s the moment to drop in a smaller filler piece — a coaster design, a small geometric accent, or an ornament — rather than leaving it as scrap. Shops using the Full Access Bundle tend to keep a rotating stock of small “filler” designs specifically for this purpose, since having 100+ files on hand means there’s almost always something the right size to plug a gap.
Kerf and Spacing: Don’t Nest Too Tight
Nesting efficiency has a ceiling — and that ceiling is your kerf width plus safe spacing. Push parts too close together and you risk:
- Heat buildup warping thin parts (common under 0.5mm spacing on stainless under 2mm thick)
- Dross bridging between plasma-cut parts
- Micro-tabs melting on adjacent contours in fiber laser cuts
Minimum spacing guidelines:
| Process | Material thickness | Minimum part spacing |
|---|---|---|
| Fiber laser | 1-3mm | 2-3mm |
| Fiber laser | 4-6mm | 4-5mm |
| CO2 laser | Acrylic/wood 3-6mm | 3-4mm |
| Plasma | 3-6mm | 5-6mm |
| Plasma | 8mm+ | 8-10mm |
Shaving spacing below these numbers to squeeze in one more part almost always costs more in scrapped pieces than it saves in material.
Lead-Ins Matter More Than You Think
Every pierce point needs a lead-in line, and lead-ins eat into your effective nesting area. If you’re nesting parts edge-to-edge, make sure lead-ins point outward into scrap zones or shared cut lines — not into a neighboring part’s finished edge.
For laser work with common-line cutting (sharing one cut line between two adjacent parts), you can skip lead-ins entirely on the shared edge and gain another 3-6% material savings on straight-edge geometric designs. This technique doesn’t work well on curved/organic shapes where edges don’t align, so reserve common-line cutting for angular and abstract patterns like abs-21 or panel-style repeating designs.
A Practical Nesting Workflow
- Sort by material/thickness — never mix cut jobs across this line
- Import all pending parts for that material into your nesting software at once, not one job at a time
- Run auto-nest first to get a baseline utilization percentage
- Manually rotate the 3-5 largest parts to test for better fit — auto-nest algorithms often miss non-standard angles
- Fill remaining gaps with smaller filler designs from your library
- Check kerf/spacing compliance against the table above before finalizing
- Save the nested layout as a template if it’s a repeat order — don’t re-nest from scratch every time
When Efficiency Isn’t the Only Metric
Sometimes maximizing utilization isn’t worth the added cut time. Common-line cutting and tight interlocking nests can add complexity that slows programming, and dense nests increase pierce count, which adds cycle time on thicker plasma work. For a one-off custom order, spending 20 extra minutes chasing 5% more material savings on a $40 sheet rarely pays off. Reserve aggressive nesting optimization for repeat production runs and higher-value materials (stainless, brass, copper) where the savings compound.
Quick Wins You Can Apply Today
- Rotate asymmetric parts before accepting an auto-nest layout
- Batch small orders together instead of running single-part sheets
- Keep a folder of small filler designs sized under 6” x 6” for gap-filling
- Never go below minimum kerf spacing to save space — it costs more in rework than it saves in material
- Save successful nest layouts as reusable templates for repeat orders
Good nesting won’t show up on your Instagram feed, but it shows up on your material invoice every single month. If you’re stocking a library for nesting flexibility, browsing abs-05 and similar abstract patterns alongside botanical options like bot-01 gives you a range of shapes — angular and organic — that nest well together on shared sheets. For shops running frequent batches, the Full Access Bundle is the simplest way to keep enough design variety on hand to fill any gap a sheet leaves you.
Designs mentioned in this article


More articles
House Signs
10 Best DXF Designs for Modern House Signs & Address Plaques
Curated list of the 10 best DXF designs for house signs and address number plaques. Modern styles, material recommendations, install tips. Ready to cut on fiber laser or plasma.
June 8, 2026
Wall Clocks
10 Best DXF Designs for Metal Wall Clocks (Laser & Plasma Cut)
Discover the 10 best DXF wall clock designs for laser and plasma cutting, plus motor sizing, hole specs, and material tips to sell them fast.
August 27, 2026
Design Roundup
10 Best DXF Designs for Modern Fence Panels (Fiber Laser & Plasma)
Hand-picked DXF designs that look stunning as decorative fence inserts. Cut on fiber laser or plasma in 2-3 mm steel, no rescaling needed, ready in 30 minutes.
May 24, 2026