Brass
Brass Fiber Laser Cutting — Complete Settings & Materials Guide
Comprehensive guide to cutting brass with a fiber laser: speed, power, gas pressure, nozzle selection, finishing. Settings for 0.5mm to 6mm across 1kW – 6kW machines.
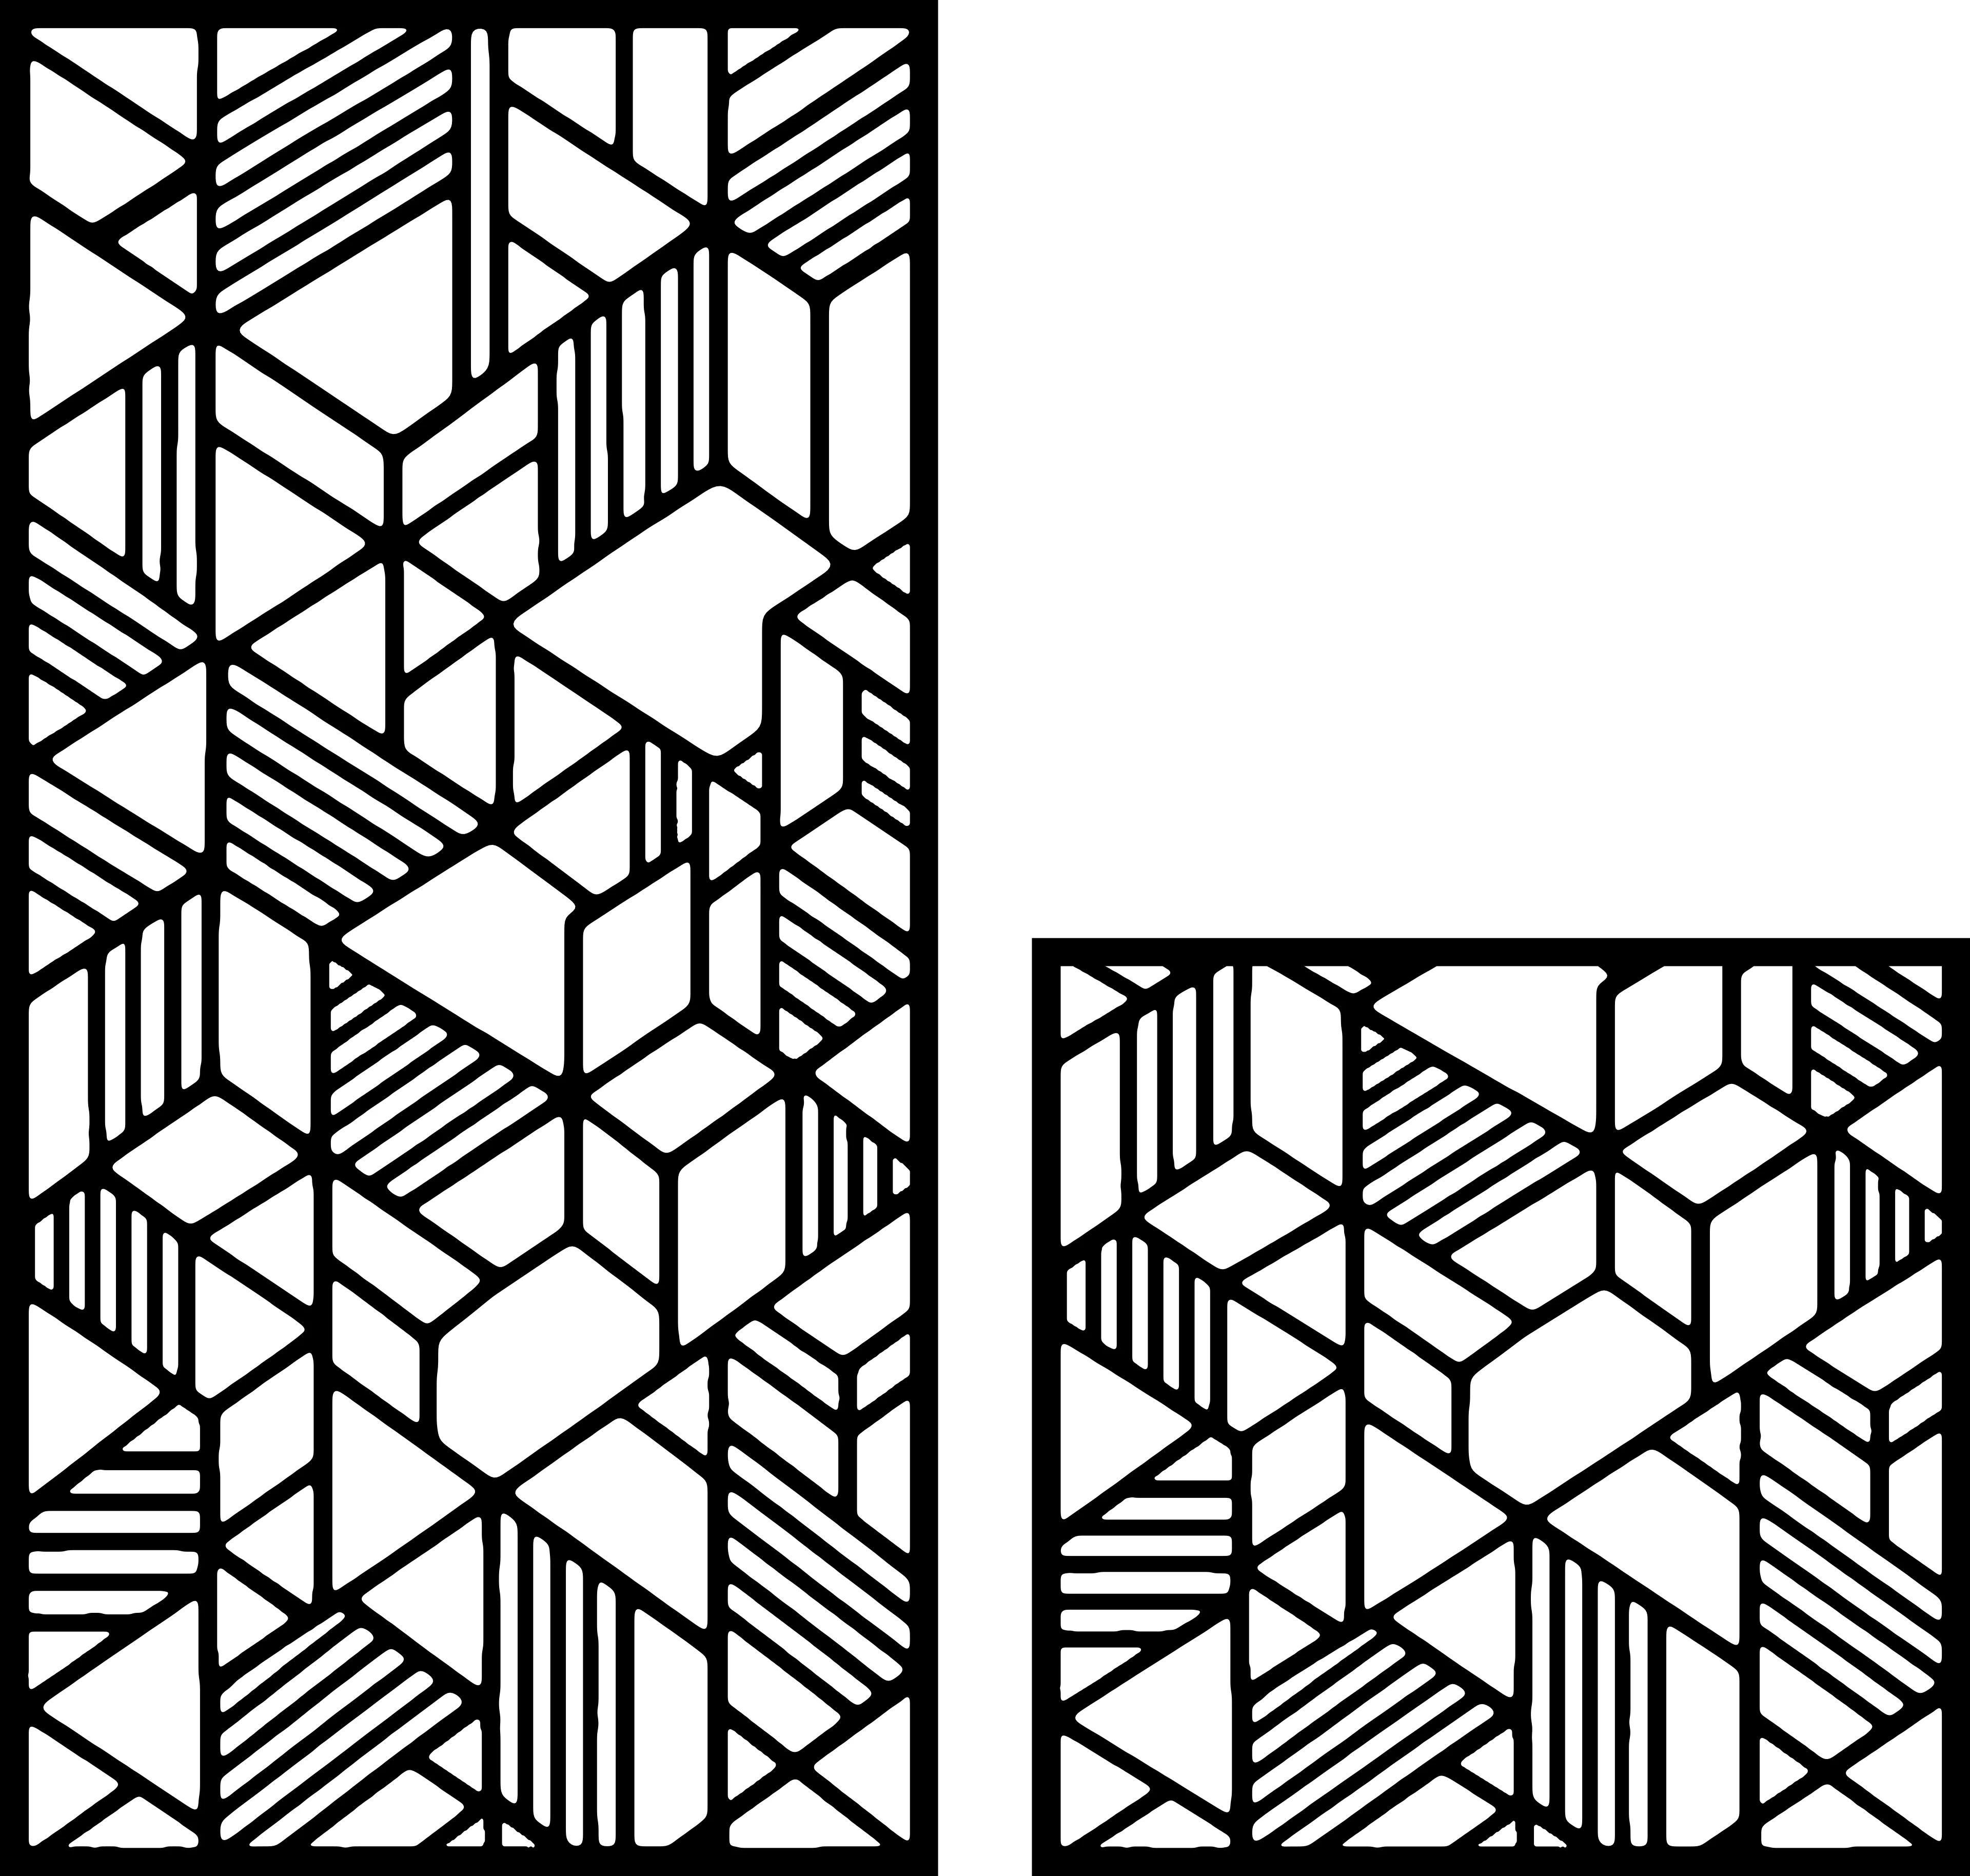
Brass is the material that separates the fiber laser owners who do amazing work from the ones who keep cutting mild steel forever. It’s reflective, it’s expensive, it has weird thermal properties — but when you dial it in, the results are jewelry-grade. Mirror finishes. Crisp internal cuts. Premium aesthetic at premium prices.
This is the complete settings reference based on real-shop cuts on 0.5mm to 6mm brass across multiple machine classes. Everything you need to dial in your first brass job today.
Why brass is harder than mild steel
Three reasons cutting brass is technical:
-
High reflectivity. Brass reflects ~80% of the 1 µm fiber laser wavelength. Compare to mild steel which absorbs ~95%. That reflected energy goes back into your laser head — if you don’t have anti-reflection protection, you can damage the lens.
-
High thermal conductivity. Brass dissipates heat 4× faster than steel. The cut zone needs MORE concentrated energy in a smaller window, otherwise the heat spreads sideways and you get wide kerfs.
-
Material variability. “Brass” covers ~30 different alloys with different copper/zinc ratios. C260 (cartridge brass, 70/30) cuts cleanest. C360 (free-machining brass) has lead inclusions that vaporize and contaminate the cut.
Bottom line: fiber laser is required (CO2 won’t cut brass), modern fiber laser only (1kW+ recommended), and use the right brass alloy (C260 or C220, not C360).
Fiber laser machine requirements
Don’t try to cut brass on a hobby fiber laser under 1 kW — the math doesn’t work out.
| Brass thickness | Min laser power | Recommended |
|---|---|---|
| ≤ 1 mm | 750 W | 1.5 kW |
| 1-2 mm | 1 kW | 2-3 kW |
| 2-4 mm | 2 kW | 3-6 kW |
| 4-6 mm | 4 kW | 6+ kW |
| > 6 mm | Not recommended | Plasma instead |
Below 1 kW you’re fighting the reflectivity and conductivity at the same time. Cut speeds drop, edge quality suffers, and consumables burn out fast.
Cutting settings — 1.5 kW fiber laser
For C260 cartridge brass:
| Thickness | Gas | Pressure (bar) | Speed (mm/min) | Power (%) | Focus (mm) |
|---|---|---|---|---|---|
| 0.5 mm | N₂ | 14 | 12,000 – 14,000 | 75 | 0 |
| 1 mm | N₂ | 16 | 7,000 – 9,000 | 90 | -0.5 |
| 1.5 mm | N₂ | 18 | 4,500 – 5,500 | 100 | -1 |
| 2 mm | N₂ | 20 | 2,800 – 3,500 | 100 | -1.5 |
| 3 mm | N₂ | 22 | 1,500 – 2,000 | 100 | -2.5 |
Always nitrogen on brass — oxygen will oxidize the surface and dull the edges. The high N₂ pressure is non-negotiable: it blows molten material clear before it re-solidifies and forms dross underneath.
Cutting settings — 3 kW fiber laser
| Thickness | Gas | Pressure (bar) | Speed (mm/min) | Power (%) | Focus (mm) |
|---|---|---|---|---|---|
| 1 mm | N₂ | 18 | 18,000 – 22,000 | 65 | 0 |
| 2 mm | N₂ | 22 | 7,000 – 8,500 | 85 | -1 |
| 3 mm | N₂ | 25 | 3,500 – 4,500 | 100 | -2 |
| 4 mm | N₂ | 28 | 2,000 – 2,500 | 100 | -3 |
| 6 mm | N₂ | 30 | 800 – 1,100 | 100 | -5 |
Cutting settings — 6 kW fiber laser
| Thickness | Gas | Pressure (bar) | Speed (mm/min) | Power (%) | Focus (mm) |
|---|---|---|---|---|---|
| 1 mm | N₂ | 20 | 25,000+ | 55 | 0 |
| 3 mm | N₂ | 28 | 6,000 – 7,500 | 80 | -2 |
| 4 mm | N₂ | 30 | 4,000 – 5,000 | 100 | -3 |
| 6 mm | N₂ | 32 | 2,000 – 2,500 | 100 | -5 |
| 8 mm | N₂ | 32 | 1,000 – 1,400 | 100 | -7 |
Nozzle selection
Brass cutting is more nozzle-dependent than steel because the gas column physically clears the molten material out of the cut.
| Thickness | Nozzle Ø (single) | Notes |
|---|---|---|
| ≤ 1 mm | 1.0 mm | Hold the cut tight |
| 2 mm | 1.5 mm | Increase if you see dross |
| 3-4 mm | 2.0 mm | Standard |
| 5-6 mm | 2.5 mm | Higher gas flow needed |
| 8 mm+ | 3.0 mm | Very high gas, slower speed |
Replace nozzles every 4-8 hours of brass cutting — more frequent than steel because brass molten material sticks to the tip and distorts the gas pattern.
Anti-reflection (AR) setup is mandatory
Before your first brass cut, verify:
- AR-coated lens — your fiber laser should have a lens with 1 µm anti-reflection coating
- Anti-reflection protection enabled in machine software — most modern fiber lasers have a “high reflective material” mode
- Cover gas always running before piercing — prevents back-reflection during initial pierce
Skipping AR setup is how people destroy $5k lenses on their first brass job.
Pierce technique on reflective material
Standard pierce on steel: start laser, drop into material, cut path. On brass that risks reflecting energy straight back at the head during the pierce phase.
Two-stage pierce technique:
- Stage 1: Fire laser at 50% power for 0.5 seconds at the pierce point. Surface forms an oxide layer that reduces reflectivity.
- Stage 2: Increase to 100% power, drop into material for full pierce.
Most modern fiber controllers have “soft-pierce” or “ramp-pierce” mode that does this automatically. Enable it for brass.
Finishing brass after cutting
Out of the cutter, brass is mostly clean but needs finishing for jewelry-grade results:
Deburring (mandatory):
- Hand file at 30° angle on cut edge
- OR media-tumble in walnut shell media for 2-4 hours
- OR rotary deburring tool for production volume
Polishing options (in order of premium-ness):
- Brushed satin: Wire brush wheel, 2-3 passes — matte premium look
- Mirror polish: Buffing wheel + rouge compound — full mirror reflection, ~10 min per piece
- Antiqued patina: Brush with liver of sulphur solution → darkens recesses, leaves edges bright
Sealing (optional but recommended): Brass tarnishes outdoors. To prevent:
- Renaissance Wax (microcrystalline wax) — invisible, lasts 1-2 years
- Permalac clear lacquer — invisible, lasts 5+ years
- Powder coat clear — best protection, slight texture
Common problems & fixes on brass
Wide kerf / poor edge quality
- Increase N₂ pressure by 2-4 bar
- Re-focus deeper into material
- Check nozzle wear (replace if > 4 hours of brass cutting)
Reflective burn marks on the brass surface
- Reduce power on detail features
- Add edge lead-ins (don’t pierce in the cut path)
- Check that AR mode is enabled in software
Molten brass sticking to bottom (dross)
- Increase N₂ pressure to maximum
- Drop speed by 10%
- Re-focus deeper (more negative number)
Cut path goes wandering / inconsistent
- Check lens for contamination (brass smoke causes more buildup than steel)
- Clean lens every 1-2 hours during brass production runs
Cost considerations
Brass is expensive. Plan accordingly.
| Form | 2026 Price (US) | Notes |
|---|---|---|
| 1 mm sheet, 600×600 mm | $35-50 | Common stock |
| 2 mm sheet, 600×600 mm | $65-90 | Common stock |
| 3 mm sheet, 600×600 mm | $95-140 | Order ahead |
| 4-6 mm sheet | $180-400 | Special order |
Compare to mild steel: brass costs 6-10× more per square mm. Pricing your finished work needs to reflect that — a 600×600 mm brass cut piece should sell for $180-400 retail to maintain healthy margins.
What brass cuts best for
Best applications:
- Jewelry & accessories (cuts crisp at 0.5-1 mm)
- High-end decorative signage
- Architectural detail (handles, knobs, plaques)
- Premium home accessories (drawer pulls, switch plates)
- Music instrument hardware (clarinet keys, valve parts)
- Restoration & period reproductions
Don’t bother for:
- Outdoor structural use (tarnishes)
- Cost-conscious products (margins won’t work)
- Large flat panels (cheaper materials look identical at viewing distance)
Using DXFForge designs with brass
Every design in our catalogue is drawn with 0.1 mm kerf offset baked in, which works on brass for fiber laser cutting at the recommended settings above. No file modifications needed — drop the DXF straight into your controller, set your brass-specific gas/power/speed, and cut.
For brass-friendly designs (intricate detail rewards the material), look at our special and botanical categories. The fine detail brings out brass’s premium character.
TL;DR
- Always N₂ at high pressure (16-32 bar)
- Always AR-coated lens + soft pierce
- Use C260 cartridge brass — not C360
- Replace nozzle every 4-8 hours
- Sell the finished work at 6-10× material cost
Get the settings right and brass becomes your premium product line. Get them wrong and you’ll waste expensive material and possibly damage your machine.
Designs mentioned in this article


More articles
House Signs
10 Best DXF Designs for Modern House Signs & Address Plaques
Curated list of the 10 best DXF designs for house signs and address number plaques. Modern styles, material recommendations, install tips. Ready to cut on fiber laser or plasma.
June 8, 2026
Wall Clocks
10 Best DXF Designs for Metal Wall Clocks (Laser & Plasma Cut)
Discover the 10 best DXF wall clock designs for laser and plasma cutting, plus motor sizing, hole specs, and material tips to sell them fast.
August 27, 2026
Design Roundup
10 Best DXF Designs for Modern Fence Panels (Fiber Laser & Plasma)
Hand-picked DXF designs that look stunning as decorative fence inserts. Cut on fiber laser or plasma in 2-3 mm steel, no rescaling needed, ready in 30 minutes.
May 24, 2026