LightBurn
Beginner's Guide to LightBurn — First Cut in 30 Minutes
Step-by-step LightBurn tutorial for absolute beginners. Open a DXF file, set machine parameters, run your first laser cut in under 30 minutes. No prior experience needed.
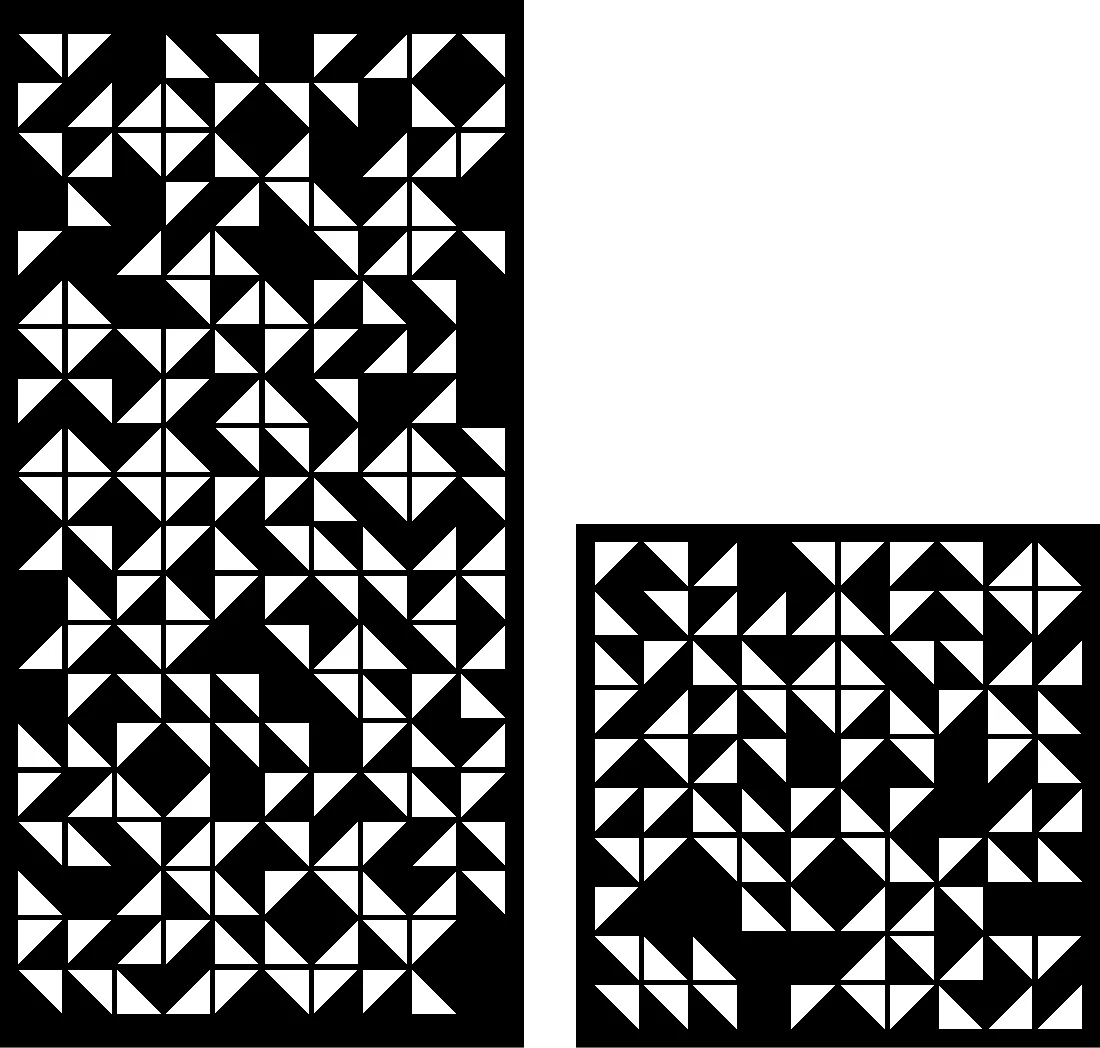
You just bought a laser cutter, downloaded LightBurn, opened the software, and the empty grey workspace stares back at you like a math test you didn’t study for. Don’t panic — LightBurn is straightforward once you understand its 4 core concepts. This guide takes you from “what do I click first” to “first successful cut” in 30 minutes.
What you’ll need:
- LightBurn installed (works on Windows, macOS, Linux — free 30-day trial available)
- Your laser cutter connected and powered on
- A DXF or SVG file (we’ll use a free DXFForge sample — comes with 5 designs ready to cut)
- A scrap piece of material (3mm plywood for first cut is ideal)
Let’s go.
Minute 0-5 — Initial setup
Open LightBurn. First screen asks you to add a new device.
- Click Devices → New Device Wizard
- Choose your machine type:
- Fiber laser: typically uses Ruida controller or proprietary controller
- CO2 laser: typically uses GRBL or Ruida
- Diode laser (xTool, Ortur, Atomstack): GRBL
- Choose connection: USB or Ethernet (depends on your machine)
- Set bed size — usually printed on your machine specs (e.g., 600×400 mm)
- Set origin location — most machines: front-left
Test connection. Click the Move tab (bottom right). Click an arrow button — your laser head should move 10mm. If it moves, you’re connected. If it doesn’t, recheck cables.
Minute 5-10 — Understanding the workspace
LightBurn has 4 panels you’ll use constantly:
Top — Toolbar. Save, open, undo, zoom. Standard stuff.
Left — Tool palette. Rectangle, ellipse, line, text, image trace. You’ll use these to create new geometry. For now, ignore them — we’re importing existing DXFs.
Bottom-right — Cut/Layers panel. This is where the magic happens. Every “layer” in LightBurn = one operation type (cut, score, engrave). Each colour you assign to geometry becomes a separate layer with its own settings.
Bottom-left — Move/Console panel. Move tab controls laser head position. Console shows machine communication.
Minute 10-15 — Import your first DXF
- File → Import (or drag-and-drop DXF into workspace)
- Choose your DXF file — let’s use
abs-01.dxffrom the free DXFForge sample pack - The design appears in the workspace
Check the size. Click the design (it highlights), look at the Selection info panel on the right side. Should show width × height in mm (e.g., 300 × 600 mm).
If size looks wrong (e.g., 11.8 × 23.6 — those are inches): go to Settings → Display → Units and set to mm.
Position the design. Click and drag to move. The bed background grid helps align — typical placement is centred or in the upper-left of your bed area.
Minute 15-20 — Set up your cutting layer
Click the design to select it. Look at the bottom-right colour palette. The current colour (probably Black 00) is highlighted.
In the Cut/Layers panel above the colour palette, you see a single layer entry: “C00” (= colour 00 = black). Double-click it to open the layer settings.
Set these values (for 3mm plywood as a starting point):
| Setting | Value | What it means |
|---|---|---|
| Mode | Line | Cut along the path (vs Fill for engraving) |
| Speed | 8 mm/s | How fast the head moves |
| Power max | 80% | Laser intensity |
| Power min | 20% | Lower for corner deceleration |
| Number of passes | 1 | How many times to repeat the cut |
| Z step per pass | 0 | Don’t lower table between passes |
| Air assist | On | If your machine has it |
Click OK.
For DIFFERENT material/thickness, the settings vary. Quick starting points:
| Material | Speed | Power | Passes |
|---|---|---|---|
| 3mm plywood | 8 mm/s | 80% | 1 |
| 3mm MDF | 10 mm/s | 80% | 1 |
| 3mm acrylic | 12 mm/s | 65% | 1 |
| 6mm plywood | 6 mm/s | 90% | 1 |
| 1mm cardboard | 50 mm/s | 30% | 1 |
These work for typical 40-80W CO2 lasers. For fiber laser on metal, settings are different — see our fiber laser settings guide for that.
Minute 20-25 — Pre-flight checklist (don’t skip this)
Before clicking Start, run this checklist. 60 seconds of checking saves an hour of debugging.
Material:
- Material lies flat on bed (no warps)
- Material extends beyond cut area by 5+ mm
- Surface is clean (no dust = no flame-up)
Machine:
- Air assist running (you hear it)
- Exhaust fan on (you feel airflow)
- Water chiller running (CO2 lasers — usually a separate device)
- No tools/clamps in head’s path
Software:
- Selection in correct position relative to machine origin
- Layer settings configured (Speed/Power/Passes)
- Number of objects matches expectation (Cut Files panel)
Safety:
- Fire extinguisher within arm’s reach
- Laser safety glasses on (especially for fiber + diode lasers)
- You can see the machine the whole time
Now you’re ready.
Minute 25-30 — Frame, then cut
Frame first. Click the Frame button (bottom-left toolbar). The laser head traces a rectangular outline of where the cut will happen WITHOUT firing the laser. This confirms positioning.
If the frame looks right (going where you expected on the material), proceed. If not, adjust position in workspace and Frame again.
Start the cut. Click Start (bottom-right). Watch the head start moving and cutting.
Stay watching. Don’t walk away from your first cut. Watch for:
- Excessive flames (= too slow or too much power — emergency stop, reduce power)
- Wood charring excessively (= too slow — increase speed)
- Cut not going all the way through (= too fast or too little power — increase power or reduce speed for next pass)
- Smoke not being cleared (= air assist or exhaust problem)
Cut completes. Head returns to origin position. Lift the material — your cut piece should fall out.
Did it cut all the way through?
Three possible outcomes:
A) Yes, clean cut, falls out: Congratulations. Repeat at this setting for production. Take notes on Speed/Power that worked.
B) Almost — slight tab holding it: Add ~5% power or reduce speed by ~1 mm/s for next attempt. Or increase passes from 1 to 2.
C) Surface scorched, barely a line: Too much power for too long. Increase speed dramatically (try 15-20 mm/s) or reduce power to 50%.
Run a small test piece — say, a 50mm square cut from your DXF — to dial in settings before running a large expensive job.
Saving your settings
Once you have working settings for a material, save them:
- File → Save material settings OR right-click layer → Save to material library
- Name it: “3mm plywood — 80W CO2”
- Next time you cut plywood, recall this settings preset in one click
Build your library over the first few weeks. After 30-50 cuts you’ll have presets for every material you commonly use.
Common LightBurn mistakes (and fixes)
“My DXF imported and I see lines but nothing is selected to cut.” → Your DXF used colour layers that aren’t recognised. Select all (Ctrl+A), then click a colour in the bottom palette. All objects get assigned to that layer.
“The cut starts in the middle of the path.” → Check Cut Settings → Optimization → “Start point inside cuts”. Set to “Optimize start points” for cleaner results.
“My design is mirrored on the material.” → Your machine origin is set wrong. Edit → Device Settings → Origin — typically should match your physical machine’s home position (front-left for most CO2, varies for fiber).
“Lines are dotted instead of solid.” → Wrong cut mode. Open layer settings → Mode should be Line, not Fill or Image.
“Two cuts going over the same line.” → Duplicate geometry in your DXF. Edit → Delete duplicates removes overlapping paths.
Next steps after your first cut
You’ve successfully cut. Now scale up:
- Try different DXF files — every DXFForge design is pre-tested for clean LightBurn import
- Try different materials — acrylic, MDF, leather, cardboard each behave differently
- Try engraving — set layer Mode to Fill instead of Line; uses different settings (faster speed, lower power)
- Learn cut optimization — Cut Order panel lets you control which paths cut first (internal before external = best practice)
Where to get cut-ready DXF files
Every file in the DXFForge catalogue ships with:
- ✓ Closed paths (no broken lines)
- ✓ 0.1 mm kerf offset baked in
- ✓ Named layers (CUT vs ENGRAVE)
- ✓ Reference 100mm square for size verification
- ✓ Internal cuts before external (correct cut order)
You can grab 5 free samples to practice. Or for production work, the Full Access Bundle gives 108+ designs for $49.99 one-time.
TL;DR
| Time | Action |
|---|---|
| 0-5 min | Set up device in LightBurn |
| 5-10 min | Learn the workspace |
| 10-15 min | Import DXF, check size, position |
| 15-20 min | Configure layer (speed/power/passes) |
| 20-25 min | Pre-flight checklist |
| 25-30 min | Frame, cut, observe result |
You’ve made your first laser cut. Welcome to the hobby that will absorb every free hour you have.
Designs mentioned in this article


More articles
House Signs
10 Best DXF Designs for Modern House Signs & Address Plaques
Curated list of the 10 best DXF designs for house signs and address number plaques. Modern styles, material recommendations, install tips. Ready to cut on fiber laser or plasma.
June 8, 2026
Wall Clocks
10 Best DXF Designs for Metal Wall Clocks (Laser & Plasma Cut)
Discover the 10 best DXF wall clock designs for laser and plasma cutting, plus motor sizing, hole specs, and material tips to sell them fast.
August 27, 2026
Design Roundup
10 Best DXF Designs for Modern Fence Panels (Fiber Laser & Plasma)
Hand-picked DXF designs that look stunning as decorative fence inserts. Cut on fiber laser or plasma in 2-3 mm steel, no rescaling needed, ready in 30 minutes.
May 24, 2026